Roast Pheasant Ravioli using Nettle & Wild Garlic Pasta

Our Wild Garlic patch...

Our Wild Garlic patch…

This post is, by way of leftovers, a follow up to Beer Brined Pheasant. My most recent repeat of this recipe worked very well using Badger Blanford Flyer and Brains Barry Island IPA to create the brine, admittedly I used these beers because I had no interest in drinking them as they’re too sweet for my tastes. We enjoyed our roast brined pheasant with Hardknott Dark Energy, there’s a proper synergy between a stout and a roast in my opinion. Dinner used a breast and a leg each – the rest of the meat was stripped off the carcass and along with a creamy textured roast potato was used for the recipe idea presented in this post.

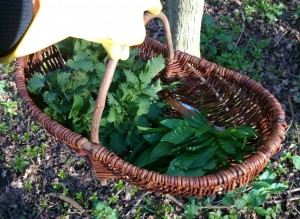
Nettles & Wild Garlic in a basket

Our wild harvest…

This post is also, by way of chance, suitable for “Saint Patrick’s Day“. The recipe celebrates the passing of the winter by enjoying the last of the game season’s pheasant – and welcomes in the spring by way of fresh young nettle tops and wild garlic. Using the latter green ingredients a green pasta is made – green, the colour of Ireland. One can imagine the timing of Saint Patrick’s Day probably has at its roots the celebration of spring. Like many people around the world “I have an Irish [insert ancestor]” – in my case grandmother. However I never met her and have no cultural links to Ireland and have never particularly partaken of the global piss-up that Saint Paddy’s has come to be known as. Take this recipe as you will, homage to Saint Patrick or to spring – my preference lies to the latter.

On Saturday March 15th we visited a local woodland known for its sea of ransoms – aka wild garlic. We found it to be just coming up, but plenty there to gather a couple of handfuls. We also gathered nettle tops. Enjoying the general pleasantness of early spring – warmer temperatures, woods still clear of difficult growth, with violet and primrose blossom forming colourful highlights on the woodland floor.

Violets

Violets

The making of the pasta is as for a spinach pasta – use your favourite recipe but use nettle tops and wild garlic leaves in place of spinach. I used 65g of de-stemmed young nettle tops and 35g of wild garlic leaf. Two litres of water on the boil with two tablespoons of salt in it, I’ve read that the salt helps the leaves retain their green colour – blanch nettle tops for 1 minute, placing wild garlic leaves in when there is just 15 seconds of the minute left. Pour leaves into a strainer and press out as much liquid out as you can. Pop into a little food processor with one whole egg and emulsify to a bright paste.

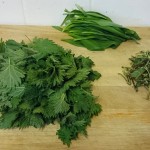
De-stemmed nettle leaves and wild garlic leaves

Leaves

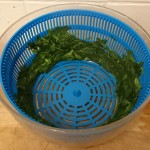
Leaves that have been poached and then de-watered in a salad spinner

Poached & Spun

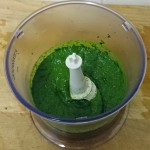
Puréed with an egg

Puréed with an egg

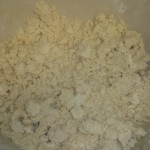
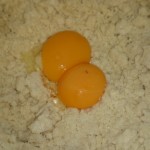
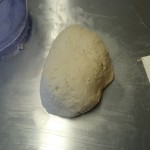
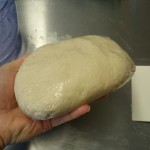
For the pasta start with 500g of good plainflour and one teaspoon of salt. Rub in the green paste. Add egg until a stiff dough is formed – a good pasta dough starts off pretty stiff and difficult to work. In addition to the green paste my dough used one more whole egg plus the yolks of five eggs. This came together using wet hands and was kneeded for a good 15 minutes on a dampened benchtop. Wrap in clingfilm and place aside at room temperature to relax for at least an hour.

To make the filling finely dice a small onion (~100g) and sauté in a teaspoon of oil. When translucent add the stripped pheasant meat and fry for a couple more minutes to heat. Add a glug of dry white wine or hefeweizen and let this bubble for a minute. Pop the contents of the pan into a small food processor. Add the white of one egg and one creamy roast potato (~100g – also leftover from pheasant roast) and blend to a smooth paste. I then had to had two tablespoons of breadcrumbs to make the paste a little more workable. Stir in 100g of fine-grated rich but not astringent cheese – I used an extra mature gouda – and a tablespoon full of finely sliced wild garlic leaf. Season to taste with salt and pepper. Pop this paste into the fridge until you are ready to make your pasta parcels.

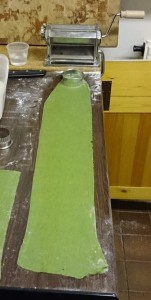
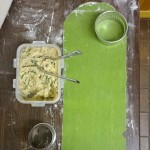
Rolled pasta

Rolled pasta

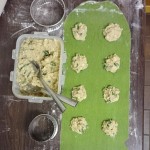
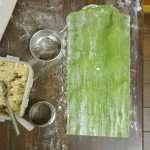
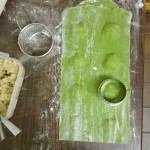
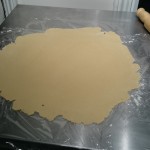
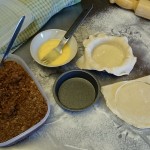
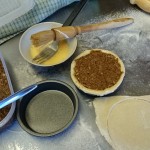
Make the parcels however you like. I chose a ravioli form as it is pretty simple to make. Using my pasta roller to roll a handful of dough at a time. I’ve done this using both my thinnest and second from thinnest settings and both work, the thinnest is a little harder to work with and some ravioli may bust whilst cooking – but the result is lighter and more delicate. Fold the pasta in half to find the centre point, note it, unfold. Use a cutter to lightly mark circles into the dough (at the thinner end if there is one).  Put just a teaspoon of filling into the centre of each circle. Mark around each bit of filling with a damp finger if your dough seems dry. Fold the pasta back over and carefully press out air pockets. Use the blunt end of a smaller cutting ring to press down the dough and then the sharp end of a fluted cutter to cut out the ravioli. Place on a floured surface, semolina “flour” is preferable. You can make and freeze these in sheets which when solid can be put into freezer bags.

Mark

Mark

Fill

Fill

Fold

Fold

Press

Press

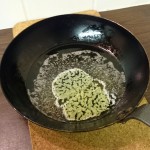
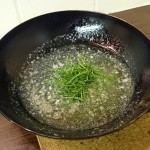
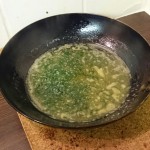
To cook from fresh plunge into salted boiling water for just three minutes – I call seven or eight of my ravioli a good serve. I also cut a few pasta offcuts into rough linguine which went in for just the final minute. At the same time melt a generous tablespoon of butter per serve in half a teaspoon of warm oil. When the butter is melted and just barely bubbling toss in a teaspoon per serve of finely sliced wild garlic leaf, sizzle briefly, add a glug of white wine of hefeweizen, bubble briefly, then bring off the heat. Strain out your ravioli and toss in the wild garlic butter.

Melted Butter in a saucepan with a little oil

Melt Butter

Shredded wild garlic leaf piled in melted butter

Add Wild Garlic

Lightly sizzled wild garlic leaf with added splash of hefeweizen

Sizzle

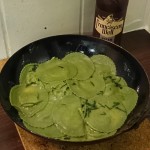
Pasta tossed in beery wild garlic leaf buttersauce.

Toss!

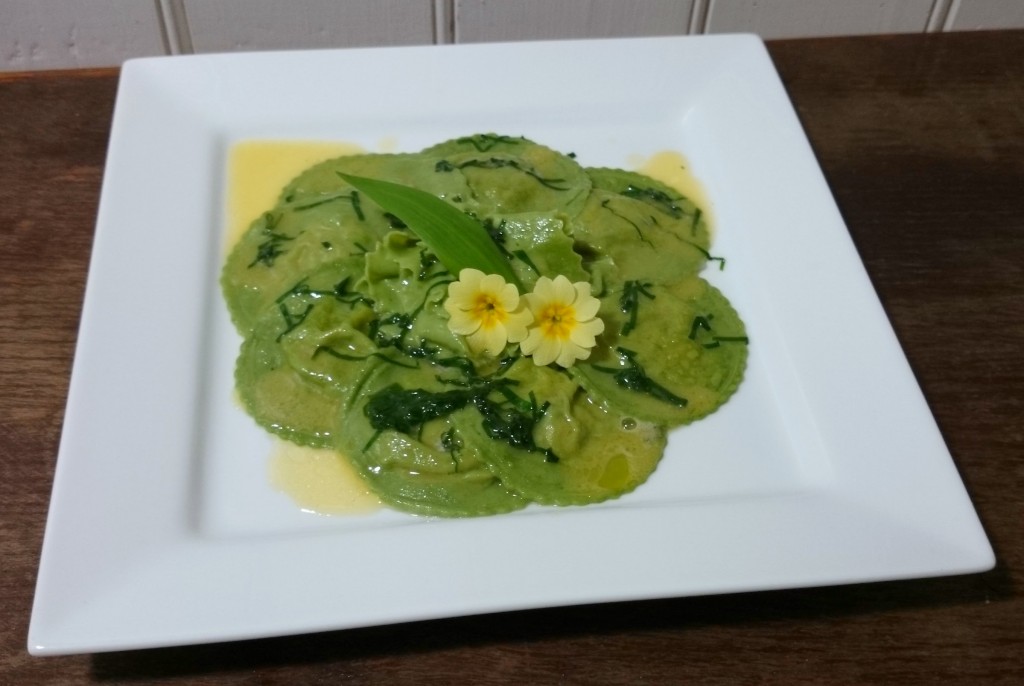
Lay out to serve, drizzle over wild garlic butter (just melt a little more butter in the pan if needed), garnish with a wild garlic leaf and some fresh spring primrose blossom if you have any. (Our primrose is from our garden. I have heard that it is illegal to harvest wild primrose – although I can find no reference to it Schedule 8 of the Wildlife & Countryside Act. Anyway – primrose is an excellent garden plant to grow for garnish use as they’re attractive, edible, and have a long flowering season.)

Plated up... roast pheasant ravioli with nettle & wild garlic pasta.

Plate up!

Beer match?! Getting into the Irish spirit is pretty difficult with beer – as we see little good Irish beer in England. I used to be partial to a Guinness but find it a bit thin and flavourless by my standards these days especially when stupidly “extra cold”, albeit Guinness is still my default in mainstream pubs with no good beer. Guinness, or any dry stout, isn’t going to work with this dish anyway in my opinion.

Ireland does have a rapidly growing microbrewing scene that seems very interesting but alas I’ve had no experience of its output. However in Tesco you can buy a couple of Franciscan Well beers, Friar Weisse and Rebel Red Ale – both well rated for their respective styles on RateBeer. (Yes, they’re owned by Molson Coors… whoopy doo – drink the beer not the company…) I popped into a local Tesco and picked up a couple of each to try with the pasta. I think both work well enough but I had a preference for the Friar Weisse – it was complementary to the soft buttery flavours of the ravioli dish, with a cutting lightness and freshness. The other advantage of the Friar Weisse in this context is a glug of it can be used in the buttery sauce instead of the white wine – I did this the second time around when I had the beers to hand and it worked very well. The Rebel Red Ale by comparison just added too much an extra strong layer of flavour at odds with the food. Were I eating with wine this is to me most certainly a white wine dish – a soft Italian white perhaps.

Serve, of course, with beer.

Serve with beer, of course. Something Irish for St Patrick’s Day.

Sour Beer Soda Bread

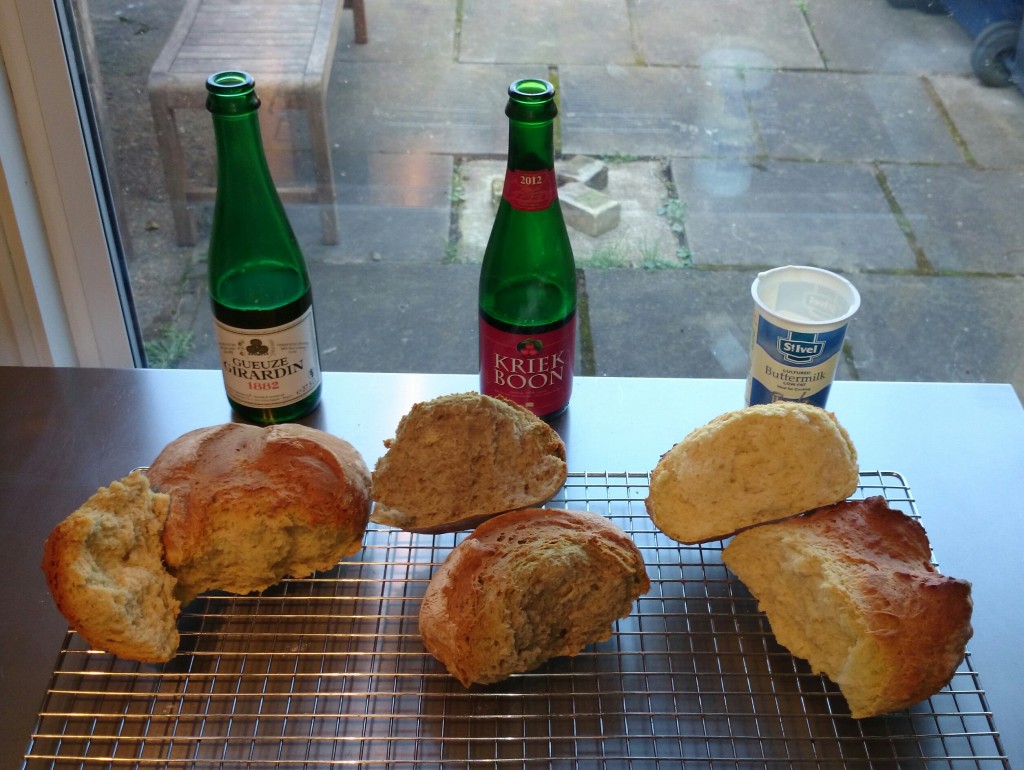
Gueuze and gueuze soda breadDuring the week I spotted a Twitter conversation about bread, and it came to soda bread and how to make it if you don’t have buttermilk handy. Buttermilk is difficult stuff to get hold of sometimes – we couldn’t even find any in the mahoosive Bar Hill Tesco “extra”… but Waitrose in St. Ives came to the rescue. I’ve struck this problem before. Soda bread is a very quick alternative to yeasty bread… and while I prefer the latter I do have a place in my heart for the convenience of the former. In the past I have resorted to using milk acidified with a squeeze of lemon juice. However, thought I, how about sour beer?


Part of the action that makes soda bread work is the combination of acidity and bicarbonate of soda, without the acidity you’d just not get enough *puff* to lighten the crumb. But buttermilk isn’t just about acidity – it has a richness and creaminess that contribute to the soft texture of bread… so any old acidic liquid isn’t going to work. Thus I’ve worked out a mix of milk and beer that does the job.

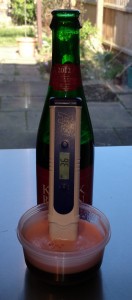
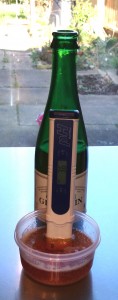
First step… a touch of total nerdery… what’s the pH of buttermilk? It turns out that for the buttermilk I bought it was 4.4… so I aimed to replicate this with a beer and milk mixture. I chose to use Gueuze 1882 from Brouwerij Girardin and Kriek from Brouwerij Boon for this experiment – and they turned out to both have a pH of 3.6. Mixed with milk to a ratio of 5:3 (beer:milk, i.e. 125g of beer plus 75g milk) this yielded a 4.4 pH in a creamy-curdled milky mixture.

Buttermilk pH

Buttermilk pH

Kriek pH

Kriek pH

Gueuze pH

Gueuze pH

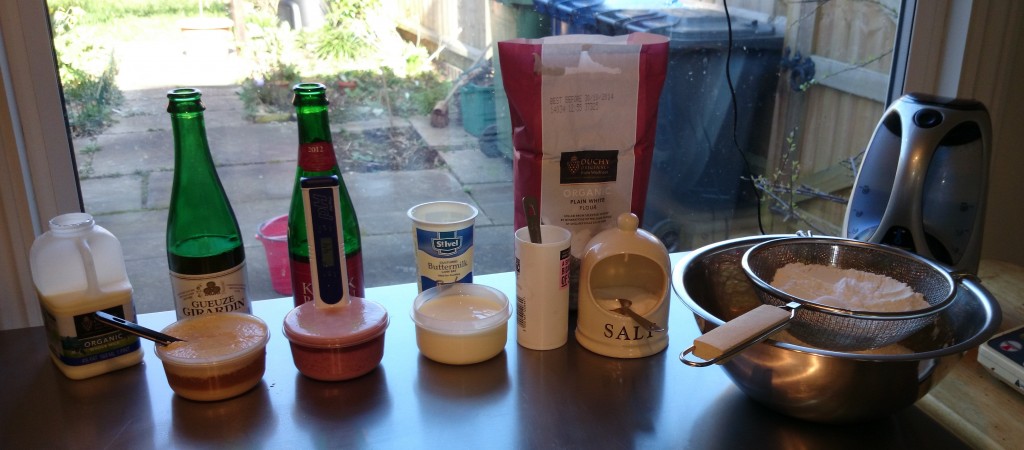
I made 3 loaves to this template, based on a HFW recipe on the River Cottage website:

  • 250g plain flour
  • 200g liquid
    • i.e. buttermilk or 75ml milk + 125ml gueuze/kriek/lambic of your choice.
  • 1tsp bicarbonate of soda
  • 0.5tsp salt

Soda bread ingredients

Mix the ingredients together quickly, adjust with milk or flour as needed to make a smooth and slightly tacky dough – it should be quite soft. Do not overwork the dough. I found the buttermilk mix needed a touch of milk to wet it and the beer mixes both needed a touch of flour to dry them. Very lightly knead to shape, pop onto a baking tray, slice an X across the top of each loaf, then into a 200C (gas 6) oven. Bake for 40 to 50 minutes – until you can insert a knife into the loaf and feel no resistance drawing it out again.

Soda bread

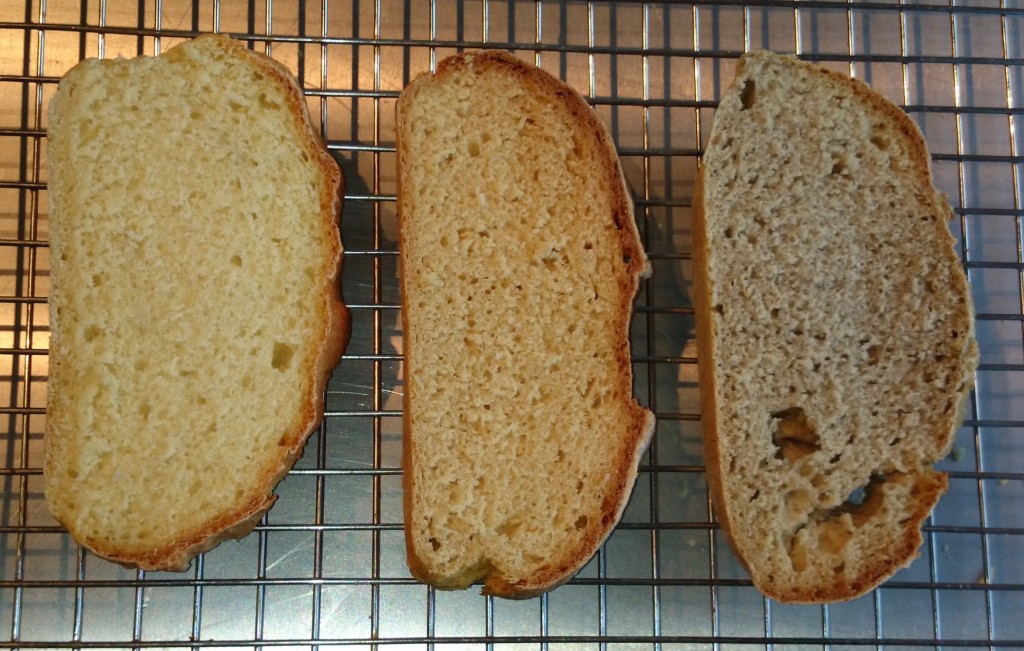
The end result was fantastic. The guezue and kriek loaves are both soft and well “puffed” with a similar crumb to the buttermilk one. If anything they’re a little less soft and just a little less risen – with just a touch more rubbery bounce in them. Adding more fat could help – using a 1:1 beer milk ratio might be enough. When eaten warm you’d not notice this at all however – and the beer ones really shine when warm, the beers are present in flavour and even more so in aroma.

Crumb detail - buttermilk, gueuze, kriek

Crumb detail – buttermilk, gueuze, kriek

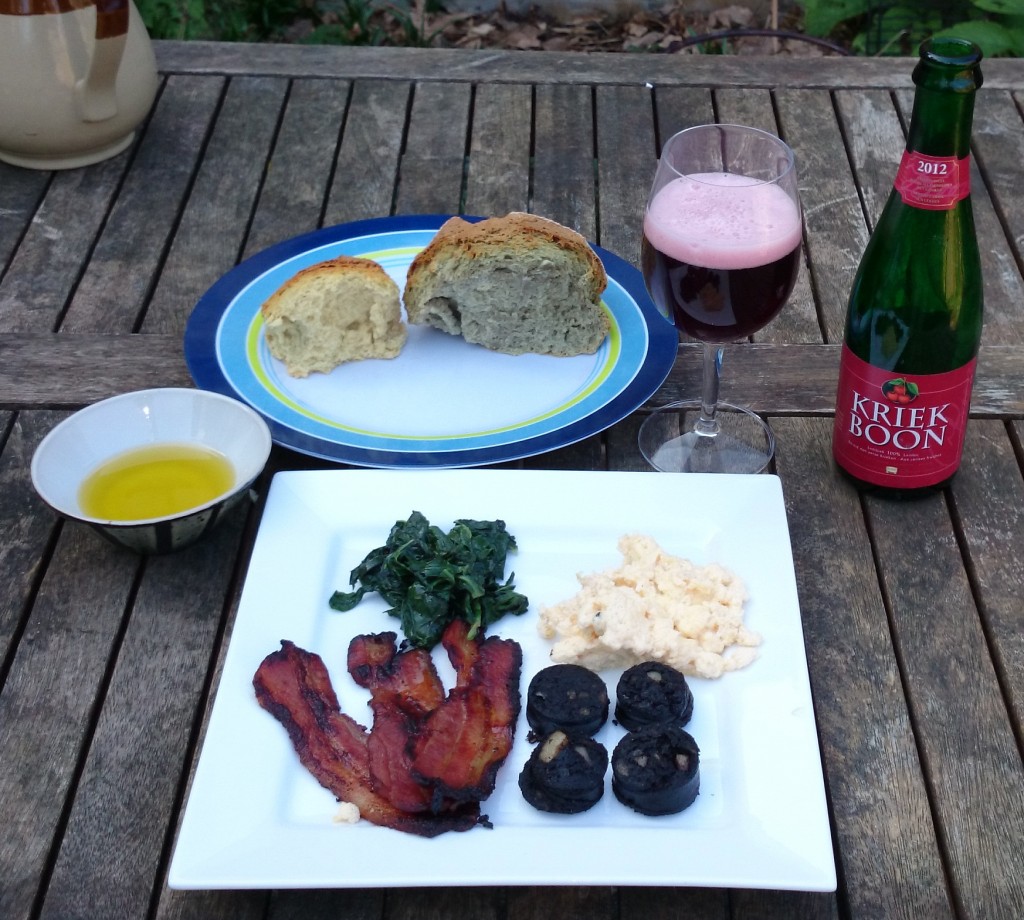
Even when nibbled on cold a few hours later the flavours of the beers are present, subtle yet clear. The kriek one especially injects a ghost of cherry to the sinuses as you chew it. But for maximum effect I suggest enjoying fresh and warm with a generous spread of butter.

And that, my friends, was breakfast... or brunch? It's OK to have breakfast at 1PM on a Sunday, right?

And that, my friends, was breakfast… or brunch? It’s OK to have breakfast at 1PM on a Sunday, right?

Stilton & Spiced Pear Frangipane

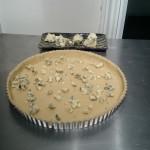
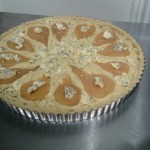
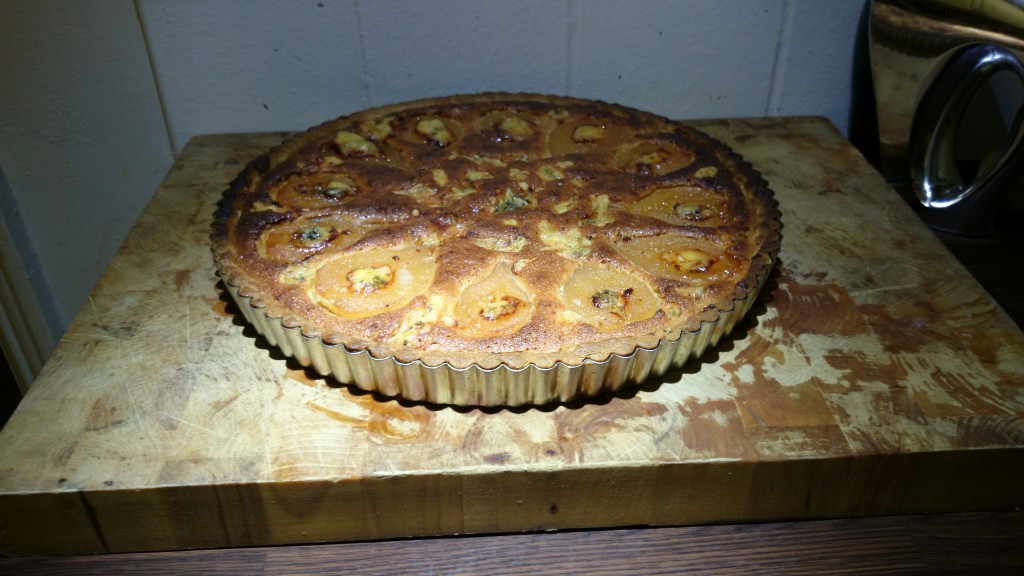
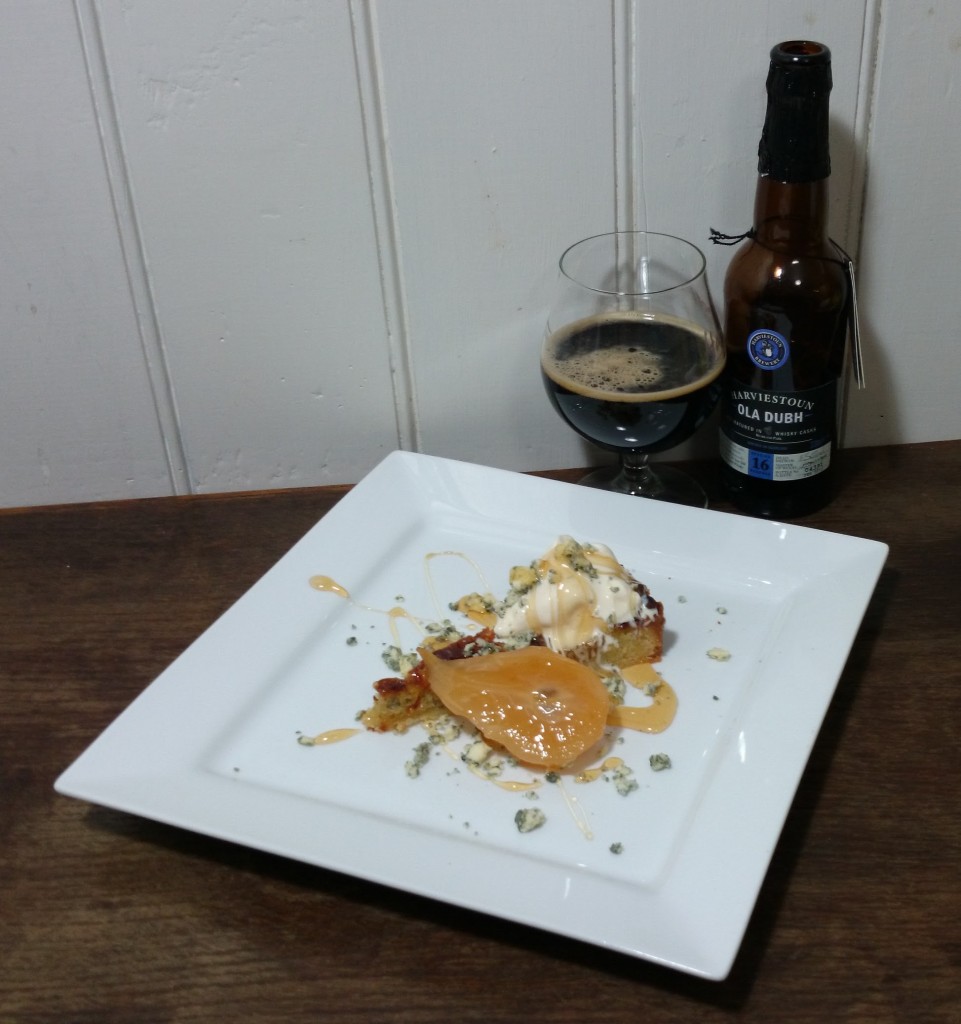
Stilton & Spiced Pear FrangipaneA super-successful off-the-cuff knock-up tart. I’d had in my mind for a few days the idea of combining strong blue cheese with my spiced pears in the form of a cake, tart, or pie. The concept being to effectively combine “dessert” and “cheese course” in one tasty dish. The end result went down very well with nearly everyone begging for a second helping.

Ingredients

  • Spiced Sweet-Vinegar Preserved Pears – in halves & de-cored
  • 227g (half a pound) of Stilton (or similar) – rind trimmed off and roughly crumbled
  • Base – a sweet shortcrust
    • 225g plain flour
    • 110g butter or lard
    • 110g caster sugar
    • 2 medium egg yolks
  • Frangipane
    • 125g caster sugar
    • 85g soft butter
    • 40g soft stilton (using some of the crumbled Stilton above)
    • 3 medium eggs
    • 125g ground almond
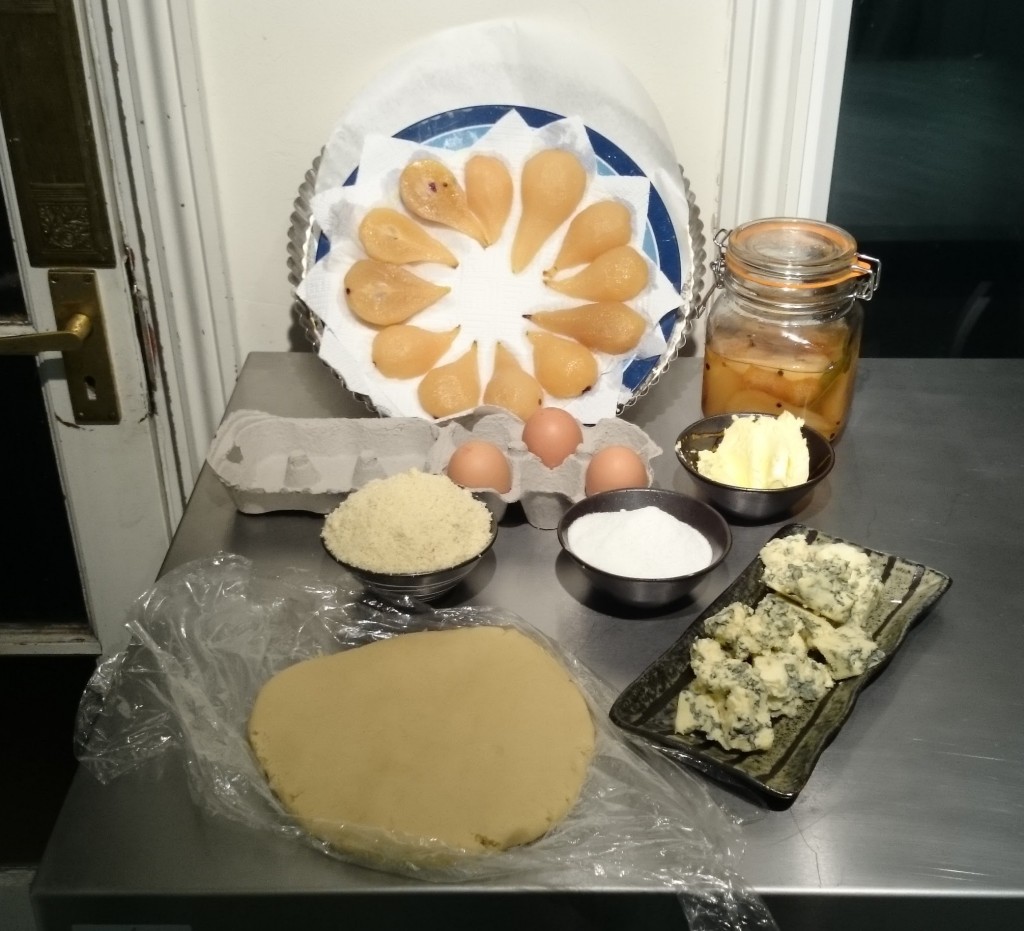
Ingredients... missing the flour!

Ingredients… missing the flour!

Method

To cut a long story short, follow this recipe here: Pear and frangipane tart recipe – this is what I’ve based mine on. The differences are:

  • Some Stilton is used instead of butter in the frangipane, and this is creamed in with the butter & sugar.
  • Crumble about a third of the remaining Stilton in the base of the tart before spreading in the frangipane mix.
  • I simply popped my half pears in whole, cut-side-up.
  • Crumble the remaining Stilton around the pears on top of the frangipane and pop a little knob of it into the core of each pear.
Crumb Lard & Flour

lard & flour crumbed

eggyolks for pastry

eggyolks for pastry

creaming for frangipan

creamed

pastry rolled

pastry rolled

stilton sprinkled

stilton sprinkled

ready to bake

ready to bake

I found it only needed about 1 hour in a 190C conventional oven to be perfectly cooked.

Baked!

Baked!

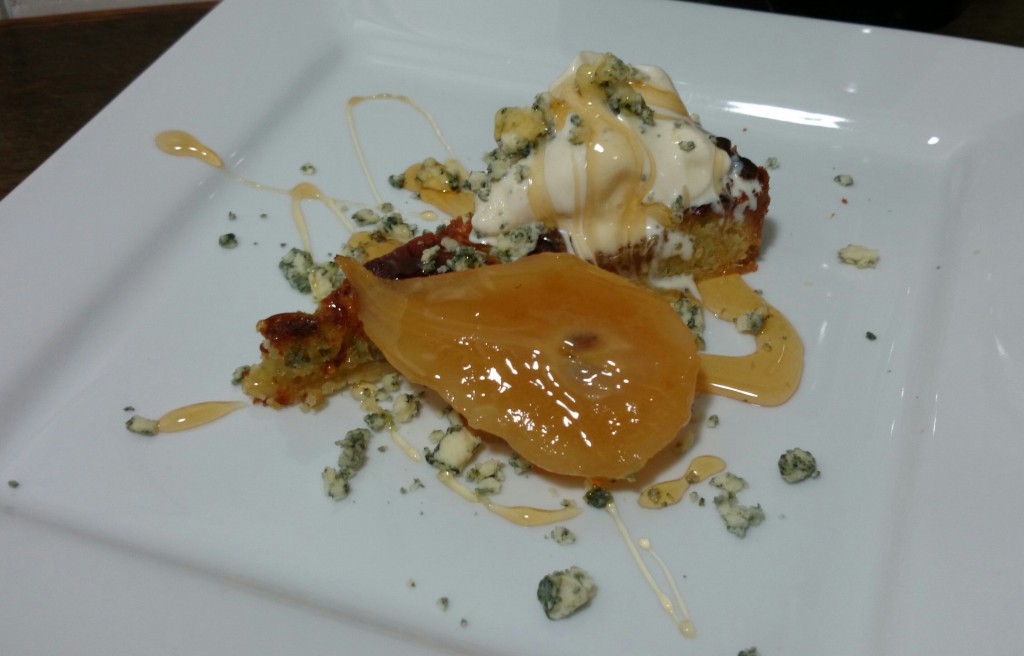
To complement the tart I used about half a cup of the pear vinegar-syrup combined with half a cup of caster sugar, boiled to form a thick syrup and then flavoured with a small dash of smoky/peaty Caol Ila whisky. A slice of tart was served with a ball of good vanilla bean icecream, a crumble of Stilton, and a drizzle of syrup. I rarely make desserts… but after the response to this one I made it again using a lard pastry instead of butter – both work just fine, but I preferred the lard pastry. I’d suggest it is definitely best enjoyed warm and with a little cream or icecream to cut through the blue-cheesy richness.

Stilton & Preserved Pear Frangipan

Stilton & Preserved Pear Frangipan …

Beer Pairing

To bring this more on-topic! Quite simply: what would go with a stinky-cheese-course is what will work here. Keeping in mind the tart adds another layer of richness and sweetness that’ll pull the guts out of a lot of beers. So go BIG. I’m thinking Brewdog Paradox series beers, or Harvistoun Ola Dubh. In fact that’s what I tried this with myself, the Harvistoun Ola Dubh 16 and it was an excellent complement to the dessert. On a different tack big barleywines and so-called “scotch ales” would also work – perhaps Adnams Tally Ho, or BrewDog Dogma. I’m pondering Yeastie Boys xeRRex, and if it’s intense peat smoked insanity would be too much… only one way to find out. If only I could get me some xeRRex!
Served with Harvistoun Ola Dubh 16

… with Harvistoun Ola Dubh 16

Badger Poacher’s Choice & Venison Aussie-style Meat Pie

PieI’ve cooked with the Badger Poacher’s Choice before, amusing myself by combining it with pheasant in the Poacher’s Pheasant Stew. Pheasant is a bird much admired in the recipes of the Poacher’s Cookbook. In a similar “humourous” vein venison becomes a natural partner to the beer as well. I’m easily amused I suppose. To add my own twist to an idea that is certainly unlikely to be a new one I’m going to combine the ingredients and present them Aussie style, replicating – as best I can – the classic Australian bakery “meat pie“. The “meat” in a “meat pie” is infamously never specified; with the joke being “there aren’t many stray cats in a town with a good bakery”. In reality beef is the typical “meat” in question, although I don’t see why it shouldn’t be kangaroo… and if kangaroo then why not venison?

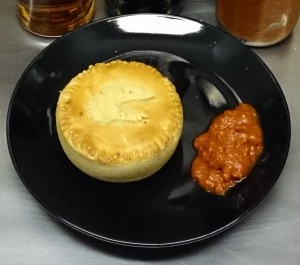
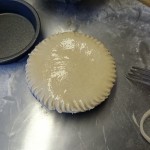
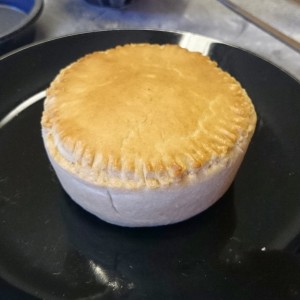
For reference here’s some photos I found of what look to me like the archetypal “Aussie Meat Pie”!

Four'n Twenty PieSquare PiePie Cross-Section Detail

I did a fair bit of research into the creating of proper bakery meat pies, it turns out to be hard to pin down with most recipes more “homey” than “bakery”. I even asked my mum, who did some time in a bakery long ago when between-restaurants. Mum sent me some recommendations…

I am no pie cook but if I were to cook one at home I definitely wouldn’t use mince unless you mince some chuck or gravy beef yourself as the shop mince is definitely made from topside or similar and generally tough and inedible unless you get a good ‘fatty’ mix, you might have a good butcher! Otherwise use some well aged chuck (my preference) and dice it up with all the connective tissue and fatty bits intact. Make a really long slow cook casserole, I would add some roots and some good stock and brown the meat in seasoned flour. You could make a bit of a carbonnade but it needs to end up dark, caramelized and not too runny for pie. Pastry would be shortcrust on the bottom if you wish or no bottom and just a good lard pastry on top.

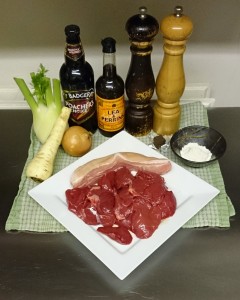
Since I’m using venison rather than beef I’ll coarsely mince it but add a bit of pork belly to increase the fat ratio – venison is a very lean meat. I’ve added a little veg to round it out, but it is meant to be a “meat pie” so I’ve kept veg to a minimum. The Poacher’s Choice is a rich and licorice-forward beer – which should complement the flavours from the fennel bulb and parsnip. Finally, I’d normally have a 10x reduced cubes of stock in the freezer but I’m all out at the moment – so rather than 50ml super-reduced real beef stock I’ve used a commercial stock cube… either would do, or use a normal beef-stock instead of the top-up water.

Filling Ingredients

Filling Ingredients

Filling Ingredients

  • 1tbsp cooking oil
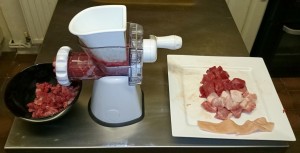
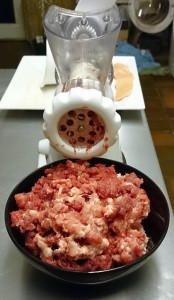
  • 500g coarse-ground venison
    • I minced my own using a 5mm plate, a good butcher should be happy to do this for you.
  • 200g coarse-ground pork belly
    • As above I ground my own – do remove the skin though, I find it doesn’t go though a mincer very well. You can put the skin in, the slow-cook will make it completely tender – but fine-chop it by hand similar to the veg.
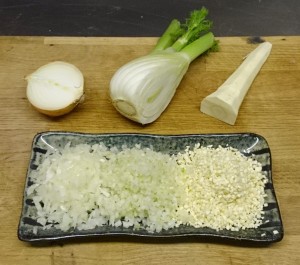
  • 50g fine-diced onion (~2mm dice)

    Chopped Veg

    Chopped Veg

  • 50g fine-diced fennel bulb (~2mm dice)
  • 50g fine-diced parsnip (~2mm dice)
  • 2tbsp (15g) plain flour
  • 1 beef stock cube (Or powder, good for approx half a litre reconstituted stock)
  • ½tsp fresh-ground black pepper
  • 2tbsp Worcestershire Sauce
    • Almost every recipe I found for “Aussie meat pie” included Worcestershire Sauce, so here it is. Many included Vegemite too… but I don’t keep any around, can’t stand the stuff. (I did consider Promite… but no, it’s too precious to put in pie!)
  • 500ml (1  bottle) Badger Poacher’s Choice
    • Or rich ale of your choice – the Poacher’s Choice is described as “a smooth, dark ale enhanced by a touch of liquorice for spicy sweetness and damson for a soft, subtly fruity taste”.
  • 200ml water (or just enough to just-submerge the meat)

Grinding Meat

Ground Meat

Filling Method
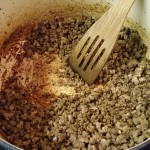
The filling is basically a low-and-slow stew but made with ground rather than cubed meat – sort of like a good bolognese. First heat the cooking oil in an oven-proof pot/dish/casserole and thoroughly brown the ground meat. Add the diced vegetables and fry off for a couple of minutes before sprinkling in the plain flour and mixing in a little at a time until evenly distributed. Crumble in the stock cube, add the black pepper, Wostershire sauce, and pour in the bottle of beer. Finally add just enough water to bring the liquid level up to the meat level. Bring to a mere simmer, pop a cartouche of baking paper over the mix, and then with the lid on the pot put the whole thing in the oven at 120°C for about 5 hours.

Brown Meat

Brown

Add Veg/etc

Add veg

Add liquids

Add liquid

Cartouche!

Cartouche!

After this time the meat should be tender and the gravy barely present. A taste of the meat proves it a little dry. But take it out of the oven and give it time… after a day in the fridge the meat content has moistened up.

Pastry Ingredients
Mum pointed me to the lard pastry in the Aussie cooking bible “The Cook’s Companion“, which she gave me a copy of many years ago. Stephanie Alexander says of this pastry: “This traditional pastry is from the north of England. It is very flexible and rather biscuit-like when cooked.” I’m not sure how specifically northern lard pastry is, but the description in general seems fit for an all-round pastry for a pie. So I’m using it for the top and the bottom. Many online recipes for “Aussie meat pies” use a puff for the top… which isn’t quite right, but it ought to be something a little flaky so perhaps a rough-puff would be more authentic.

  • 200g Plain White Flour
  • 200g Self Raising White Flour
  • ½tsp salt
  • 200g Lard (“room temp”)
  • 180ml (approx) cold water
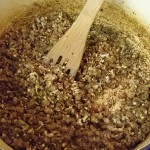
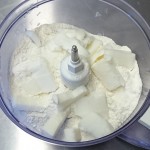
Lard, Salt, Flour

Lard, Salt, Flour

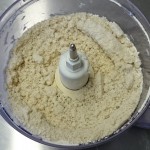
"Breadcrumb"

“Bread crumbs”

Pastry

With water

Wrapped

Wrapped

Rub together, or food-process, all ingredients except the water and form into a breadcrumb-like consistency. Then slowly combine in water to form a soft dough. You likely will not need all 180ml of water – I only needed about 150ml. Wrap the dough in some cling-film and pop in the fridge until needed, giving it at least 20 minutes.

SEE BELOW FOR IMPROVED BOTTOM-CRUST UPDATE!

Making Pies

A proper meat-pie should be single-serve sized but at least 10cm in diameter – they can be circular, oval, or even a round-cornered quadrilateral. A typical on-the-foot Aussie bakery lunch would be a pie and a “pusscake” (something sweet with custard in it – I’ll never forget being sent out for “pusscakes” by a paver I was labouring for one teenage summer, it was a vocabulary-expanding job). The non-sweet-toothed may opt for a second pie, or a sausage roll or pasty.

Bottom Crust

Bottom Crust

Filling In

Filling In

Top On

Top On

Preheat an oven to 200°C. Roll sufficient dough for bases and top out to a thickness of 1.5 to 2mm. Line pie trays, fill level with pie filling, seal top on with a little eggwash… fancy crimping is not typical, a back of a fork is over-doing it even. Lightly brush the top with eggwash for that shiny-golden effect. Appropriate sized & not-overfilled pies do not really need slits in top. Pop into the oven and bake for about 30 minutes… they’re done when golden brown and piping hot all the way through. Pies can be kept warm in the oven, but are best enjoyed right away. If you’re using circular pie dishes a great test is: it is done when golden on top and you can spin the pie in the dish!

Pie

That’s a bonza pie mate!

Verdict
I’ve almost nailed it. The filling is inauthentically generous on the meat, a typical Aussie bakery pie has more thick gravy and less actual meat. This could probably be achieved by using a full 500ml of beef stock instead of the water & doubling the amount of flour – or post-thickening with cornflour. The crust is the main problem. It is good in that holds the pie together – I’ve made a pie that can be eaten in a hand. But it is just a little too brittle. As I got to the end of my pie it started to fall apart. Perhaps the secret is to pop some eggwhite in the dough instead of water. The top of the pie looks fantastic – but it isn’t quite authentic either, it lacks “flakiness” and perhaps I should have used a rough-puff. Finally, on the dimensions front it is just a little deeper than it should be in my opinion.

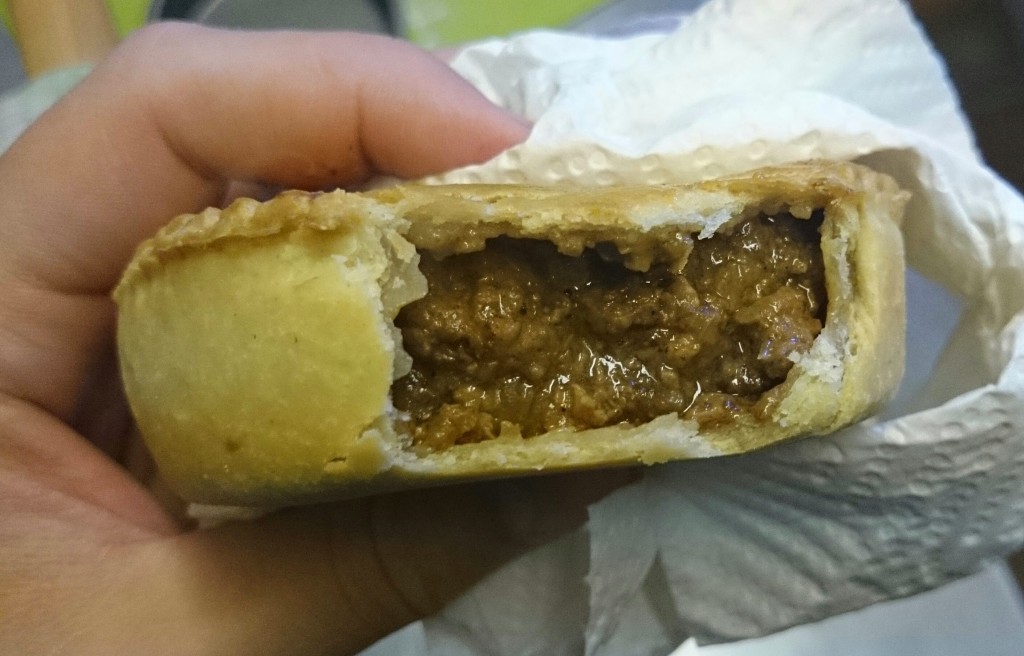
Pie in handBitten PieMultiply Bitten PiePie Collapse Imminent!

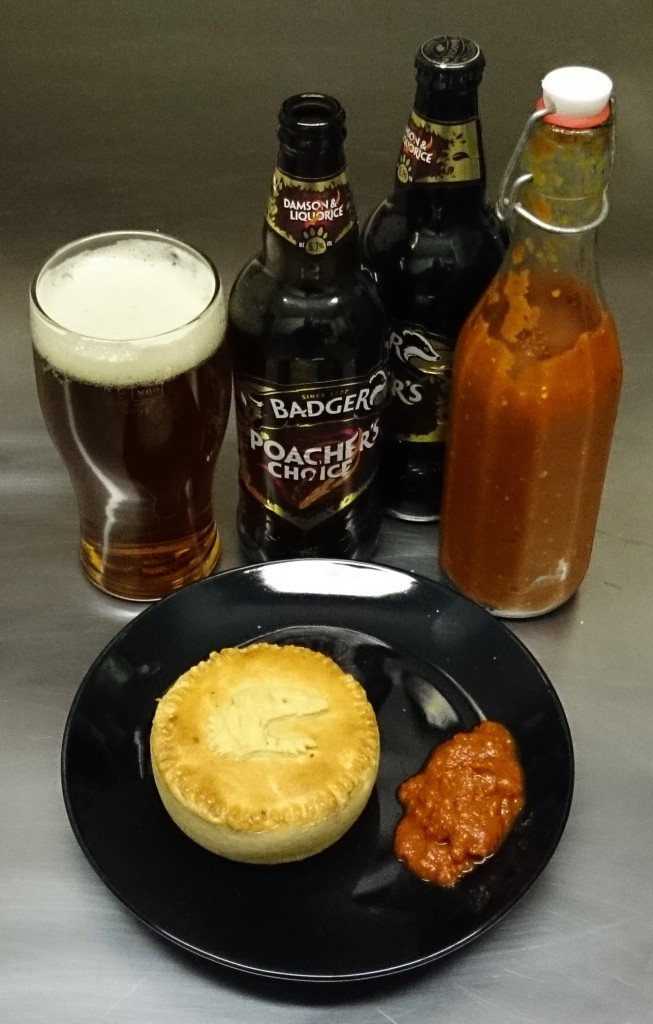
Authenticity aside… it’s a pretty good first attempt & a damn fine pie. It is very rich, you certainly don’t want it to be any larger than it is. The Poacher’s Choice flavour comes through but doesn’t dominate and the meat has resistance but is not chewy or dry. Traditionally a Aussie meat pie is enjoyed with plenty of dead horse – but I’m enjoying mine with a slathering of my home-made oaky-beer chilli sauce!

Pie & A Pint

Pie & A Pint

[UPDATE] Aussie Bottom Crust
After some research I’ve got a recipe for the bottom-crust that does the job. It’s based on this information here: Villa Tempest: On Traditional Australian Pie Base

I’m using the 3:2:1 flour:shortening:liquid ratio, specifically: ingredients all at room temperature (~20°C – a bit of a struggle in British winter!):

  • 2 eggs (120g)
  • 240g butter
  • 360g flour

Method: weigh eggs into a food processor (with metal or, preferably, plastic blade attachment) and then add twice their weight in butter. It is important that this is done at “room temperature”. Turn the food processor on and blitz eggs and butter for 30 seconds to loosely combine. Add a third of the flour (120g) and then blitz this for at least 5 minutes until a smooth and even textured paste is formed. While the processor is running gradually add the remaining flour – the dough should form into a ball in your food processor.

Wrap flattened ball of dough in cling-film and pop into the fridge for a couple of hours, or longer – until required.

When the dough is required remove from fridge, cut off just enough to make a batch of pies, and pop remaining dough back in fridge until you need it. Initially this dough will be very solid – but it should be rollable, if not it might need 30 minutes to warm up. Roll dough out to 1mm to 1.5mm thickness on a cool floured surface. Let rolled out dough rest for a couple of minutes and then use it to line the tins… recipe then continues as above. Top crust is still the lardy one above, but I think a rough-puff might be better. (That’ll be the next update!)

UPDATE: Improved Bottom Crust

UPDATE: Improved Bottom Crust

I was able to eat this whole pie and the improved bottom crust didn’t split or break at all.

Oaky Beer Chilli Sauce

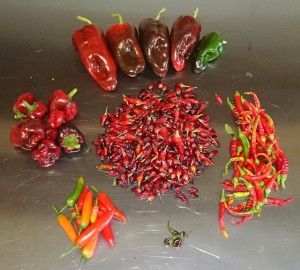
Centre: Burning Embers, clockwise from top: Poblano, Cayenne, Serrano, mutant from the Pobalano seed packet.

Centre: Burning Embers, clockwise from top: Poblano, Cayenne, stunted Chocolate Habanero, Serrano, mutant from the Pobalano seed packet.

I harvested all the remaining chillies from my indoor chilli plants as they were starting to dry out a bit. What do you do with half a kilo of chillies… well, you make chilli sauce. Obviously. We have dried chillies hanging all over the place already. As recipes go this is pretty non-replicable due to the use of a motley collection of chilli varieties – but as a blueprint it should work for any chillies.

The magic ingredient: beer with a bit of “barrel” in it. In my case Brain’s Boilermaker – Welsh Whisky-Barrel Aged IPA… a beer that I really did not enjoy very much. Not my thing at all I’m afraid. I had bought two bottles and the other one was skulking around unloved in the back of the cupboard. A distinct attribute of the beer has is a vanilla-ish whisky-oaky flavour. This, thought I, could work quite well in a sauce… vanilla-oak chilli sauce? Sorted!

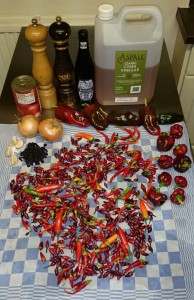
Ingredients

Ingredients

Ingredients

  • 600g of fresh chillies – 500g once once stems removed
    • The “power” of your chilli sauce will depend greatly on the varieties used. I have mostly “Explosive Ember” (a stunning edible-ornamental), plus quite a bit of Cayenne, and a handful of Serranos and Poblanos. This makes what normal folk may call a “medium” sauce, it has a good bite but won’t blow any heads off.
  • 440g (1 tin) of peeled plum tomatoes
  • 275g (2 medium) roughly chopped brown onion
  • 45g (4 big cloves) roughly chopped garlic
  • 400ml cider vinegar
  • 330ml oaky beer – 1 small bottle
    • I used Brain’s Boilermaker, but there are many options out there. Any of those much-reviled Innis & Gunn beers would be interesting to try, for example. Look at it this way: it’s a cheap way to add interest!
  • 1tsp black pepper – freshly ground
  • 3tbsp/30g currants – to add a little extra body & umami
  • Salt – to taste, add at end – I actually didn’t bother.

Method

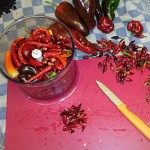
Prepare Chillies

Prepare Chillies

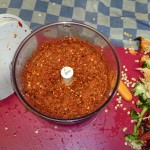
Purée Chillies

Purée Chillies

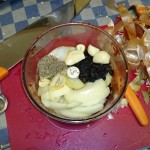
Prepare Other Solids

Prepare Other Solids

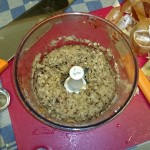
Purée Other Solids

Purée Other Solids

Simple. Put all the non-liquid ingredients into a food processor and “whiz” to a paste. I actually did this in two separate batches, chillies first and then the rest – because I couldn’t be bothered getting out my big food processor. Combine the paste with the liquids in a suitable sized saucepan, bring to a simmer and simmer until a desirable “saucy” consistency is reached. This took me about an hour. The consistency is such that a spoonful will slightly heap. Finally blitz the sauce to as smooth a paste as possible – for this job I used my trusty stick-blender.

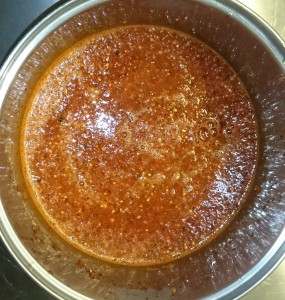
Before Simmer

Before Simmer

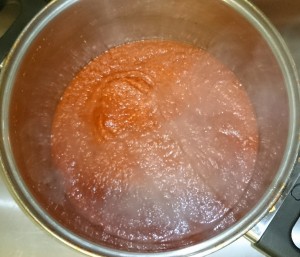
After Simmer

After Simmer

This sauce should last at least a week in the fridge, probably a month. If you pop it straight from simmering into sterilised jars or bottles then it should keep in the cupboard for months. (Or to be certain you could pasteurise it once bottled too – this is what I did.)

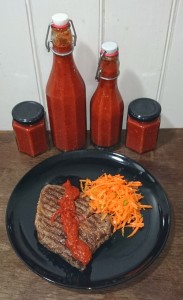
With Steak

With Steak

Verdict? I was surprised how well this worked to be honest. I was a bit concerned by using such a high proportion of “Explosive Ember” chillies, which are thin skinned and very seedy. I did eat a couple whole before doing this and they proved to be pleasantly flavoured and not too bitter, otherwise I’d not have tried. The sauce is rich, has a good kick to it, and I’m certain I can “taste the wood” – per se. The vanilla-oaky flavour that I didn’t enjoy so much in the beer works much better when translated into the context of a chilli sauce.

In practice so far the sauce works well with spring rolls and grilled steak. Personally I’m looking forward to slathering a burger with it, or a sausage-inna-bun. It’ll be delicious.

After I had put everything into one big pot I mentally kicked myself, thinking: ah, dammit, I should have done two batches – one with beer and one with water. That way I’d be able to determine the taste impact of the beer with more confidence. This time next year… expect an update on this one!