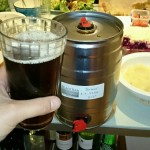
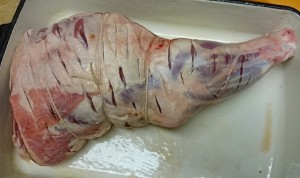
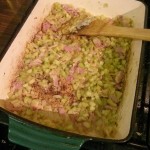
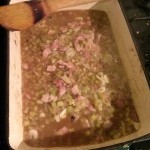
 My previous beery recipe for a beery Char Sui(ish) Pork could be said to be somewhat… complicated. It’s a labour of love, a multi-stage dish designed for show & a special occasion. Sometimes you just want to slap together a hearty meal however – and roasts and stews are, in my mind, the ultimate bang-for-buck slap-up presentation dish. So on this wet winter evening, with a sad pint of the dregs of our Christmas mini-cask of delicious toasty-maltbomb BlackBar Porteur in front of me I was thinking roast lamb. We don’t have lamb very often despite it being my favourite of the traditional roasting meats – lamb is just so expensive. But it is that special time of year leading up to the end… or the start… depending on how you look at things. So we went and fetched ourselves a partially boned out 1.5kg rolled shoulder of British lamb.
BlackBar Porteur – 4% – This porter was brewed for the Maypole pub. That had requested a ’porter’ for there beer festival which runs along side the Cambridge Beer Festival every year. So after a lot of reading and some wondering in the malt store i came up with this malty session porter. (From BlackBar website.)
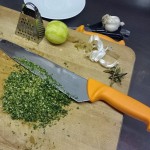
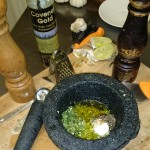
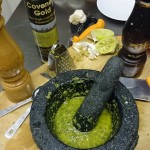
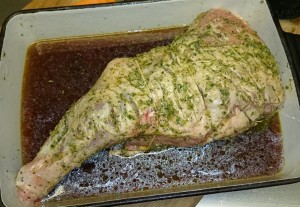
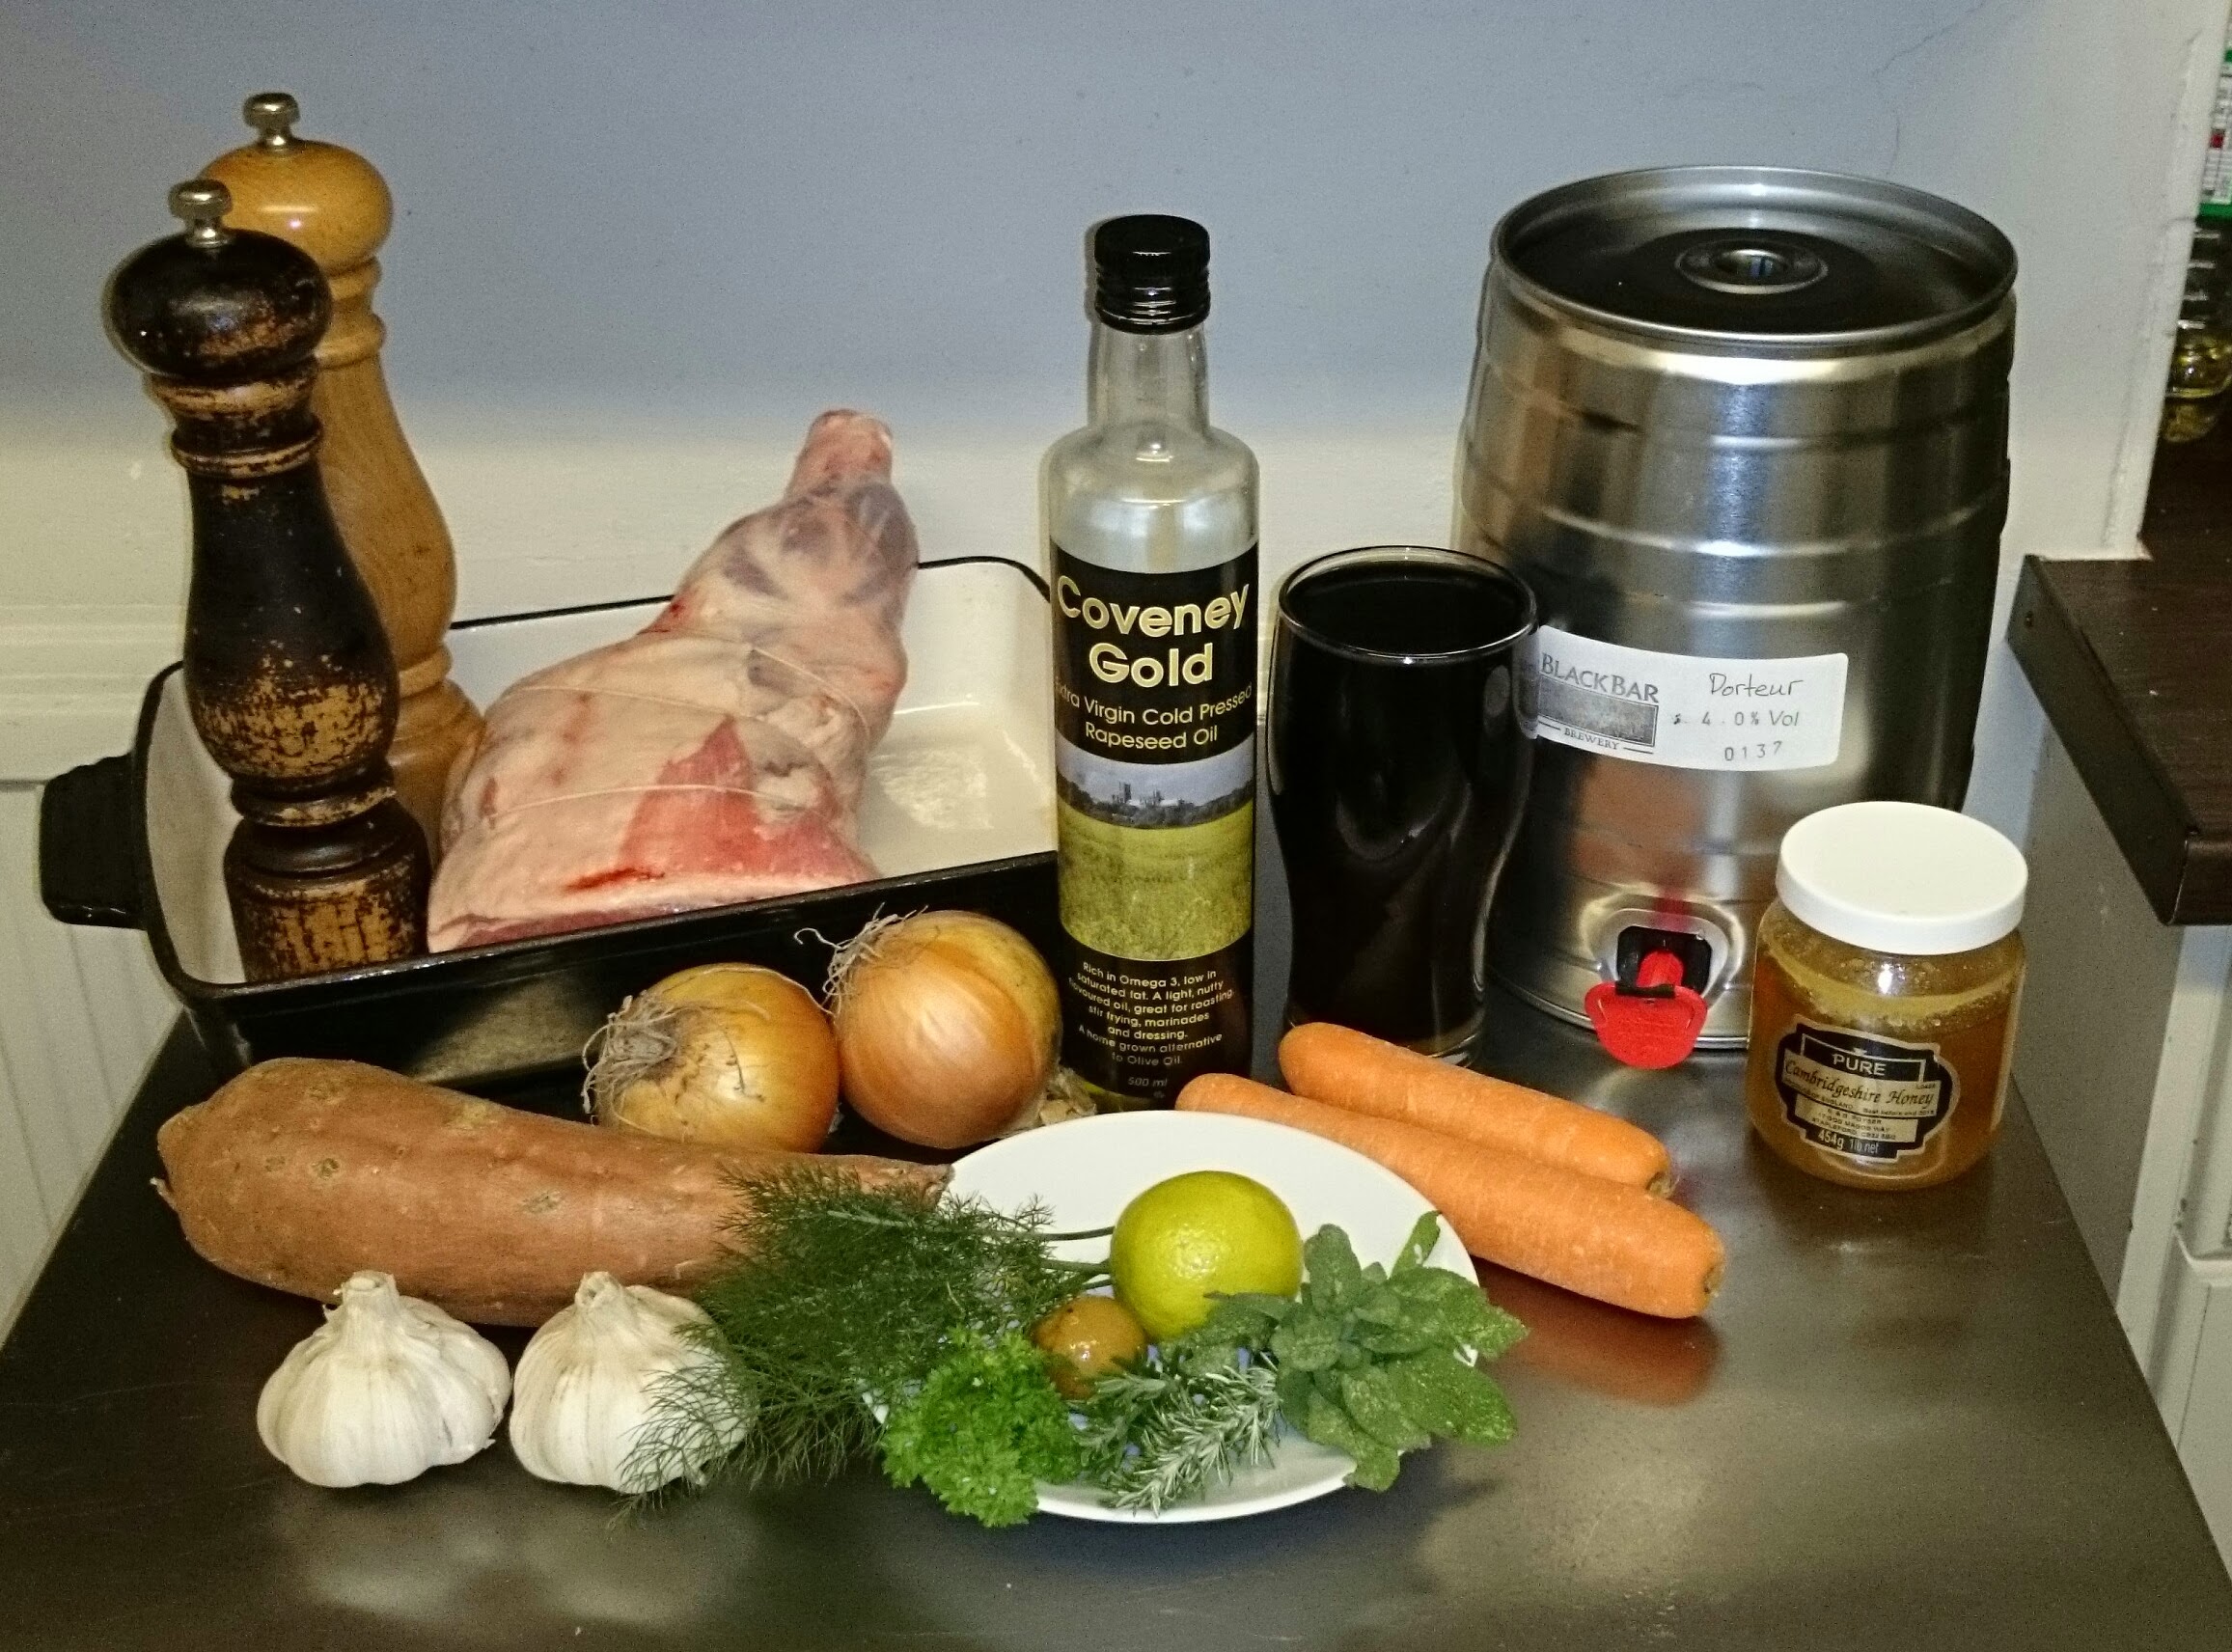
The roast itself is typically simple. Preheat your oven to 220°C. Get together some herbs, the garden is pretty scant at this time of the year but I managed to gather some rosemary, a bit of dodgy looking sage, some fronts of fennel, and a little curly parsley. These herbs – rinsed and squeezed dry in a teatowel plus a couple of beefy cloves of garlic, the zest of a lime, and the chopped skin of a preserved lemon – are finely chopped before being pounded in a mortar & pestle with ½ teaspoon each of salt & pepper plus the juice of the lime and 4 tablespoons of rapeseed oil (or whatever you have to hand).
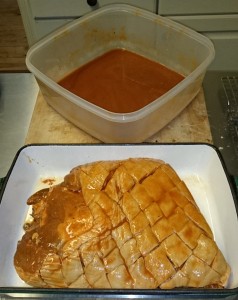
Death by 1000 cuts… that’s the treatment I give the lamb joint. Lots of little incisions just barely through the fat layer – this helps get flavour into the meat. Rub the oily mixture into the lamb – give it a good sensual massage, reserving a tablespoon of mixture to place under the joint. Pour the pint of beer around lamb – not over it.
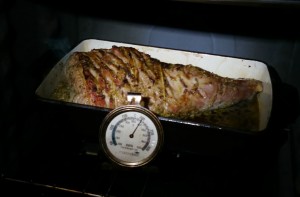
Place in oven and sizzle until browning – this took 30 minutes in my pathetic oven but should take no more than 20 in a good one.
When the sizzle is done drop the oven temperature to 160°C, pull the lamb out of the oven and drizzle 2 tablespoons of honey over the joint. (It may help to warm the honey in hot water or a microwave to make it runny). The honey should evenly glaze the lamb and catch in the little divots made by the cuts. Pop the roast back into the oven.
Slow-roast at 160°C for 2 hours. At this point I popped myself out to the local pub and had a couple of pints. That’s what roasts & stews are all about :) relaxing whilst dinner cooks itself.
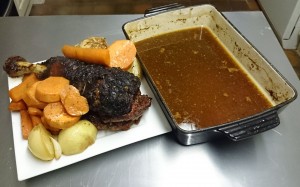
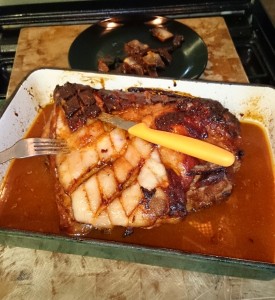
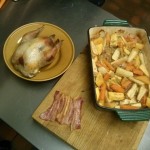
After an the 2 hours are up add your vegetables to the roasting dish, in my case: peeled sliced sweet potato, 2 whole heads of garlic, a couple of big carrots halved each way, a couple of halved onions. Baste the meat with fat from the roasting tin and then pop back into the 160°C oven for another 45 minutes – or until vegetables are tender.
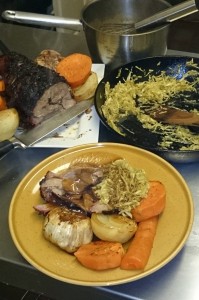
Done. Before the 2 hour roast we had finely sliced some cabbage and sprinkled with salt. This was set aside while the roast was happening. When the roast was removed from the oven the cabbage was rinsed with water, spun in a salad spinner, and then sizzled & softened in lamb fat from the roasting dish plus a couple of tablespoons of tarragon vinegar.
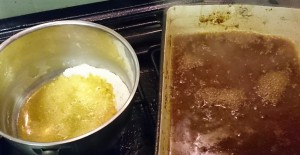
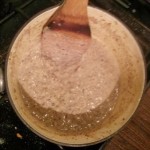
The roast joint and vegetables were removed to a warmed plate. The pan juices had excess fat siphoned off with a turkey baster and were kept simmering on the stove. In a small saucepan 2 tablespoons of rapeseed oil and 2 tablespoons of plain flour were cooked together until sizzling for a minute before the pan juices were gradually poured in through a sieve. A little at a time whisking all the way. Initially it’ll seem very doughy – but once all the juices are combined in you should have a good thick gravy.
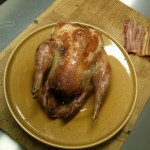
And we’re done… have some warmed plates ready and serve. Enjoy with a beer. Some take-home Adnam’s Tally Ho in this case – and the BlackBar Porteur made for the backbone of a damn fine gravy.
Ingredients Checklist
- 1 pint of dark not-too-bitter ale, a porter is usually a good choice
- A 1.5kg to 2kg roasting joint of lamb
- I used rolled shoulder, but leg is a luxury alternative, and if you’ve a big enough pan a whole bone-in shoulder will work beautifully.
- 4 tbsp chopped herbs/etc
- Fresh rosemary
- Fresh sage
- Fresh parsley
- Fresh fennel
- Fresh lime zest
- Rind of 1 preserved lemon
- 2 large garlic cloves
- 2 tbsp cold pressed rapeseed oil – or olive oil, or whatever you have
- Juice of 1 lime
- 1 tsp fresh ground black pepper
- 1 tsp ground seasalt
- Roasting vegetalbes
- 1 sweet potato – peeled, 3/4 inch slices
- 2 carrots – halved both ways
- 2 onions – halved
- 2 whole garlic heads – tips chopped off
- For cabbage:
- Cabbage leaves – fine sliced
- Salt
- Vinegar – cider, white wine, or tarragon, etc
- Roast lamb fat
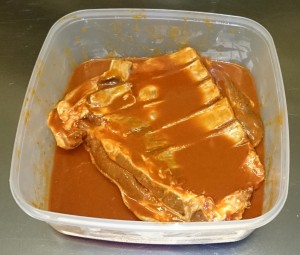
Saison “Char Siu”(ish) Pork Belly
A classic Chinese pork dish… twisted and made utterly inauthentic.
Char siu is a very tasty Chinese BBQ treatment commonly used for pork. Typically prepared using pork neck this anise-spiced sticky-sweet red-hued barbecued pork is a staple of good Chinese restaurants back home in Australia. There’s a little clip about it on Australia’s SBS website here.
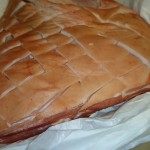
Thinking of the challenge to make something interesting for a Christmas get-together I found char siu floating into mind for some reason. We were supposed to bring something traditionally Christmassy/celebratory for our cultural backgrounds… as an Aussie atheist I see this as “free reign” – food back home is diverse, “fusion” is king, and Christmastime is HOT summer BBQ season. But… how could I add my own twist. Obviously: add beer. The beer I’ve chosen is a light and mildly spicy-sweet Saison with a pleasant farmy edge and just a twist of sourness. It’s my own Patio Grape Saison in fact. In addition I’ve used beer ingredients in the making of this dish too: malt extract in the brine & sauce and hops to smoke with. To make the dish even more luscious to suit the season I’ve also chosen to use pork belly rather than neck. Then to turn things up another notch I’m brining the belly for 24 hours prior to marinating for 12 hours in a char siu style marinade. The brine is about 50% beer, with some spices added, the char siu marinade is also made with the beer instead of vinegar and wine. The pork belly is slow-roast in the oven whilst being basted with the marinade – and is then lightly smoked with hops and applewood. My kitchen was nearly swallowed by some kind of hipster black-hole during the creation of this recipe.
Stage 1: Beer Brining a Belly
Equipment:
- 1 small saucepan
- Large plastic container that the pork belly can fit in
- Kitchen scales capable of at least 3kg
- Mortar & pestle
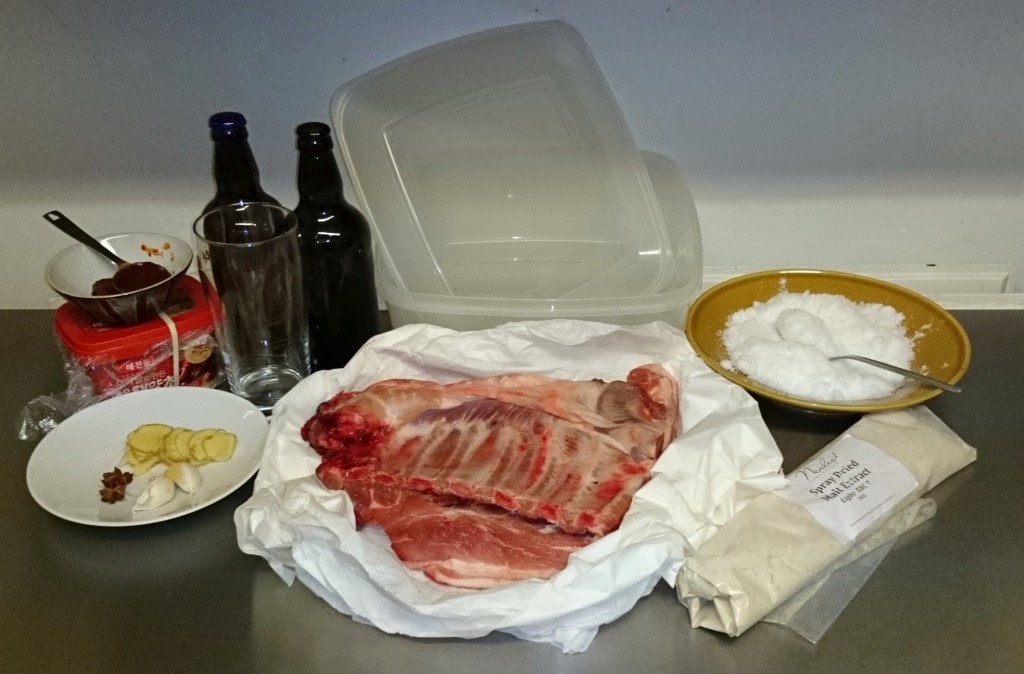
Ingredients:
-
~2kg piece of ribs-in pork belly
- deeply score the skin-side & score between the ribs – I’ve used a very meaty neck-end section of belly
- 1 litre Patio Grape Saison
- a low-IBU (~20IBU) saison-style beer – or try anything you fancy, so long as it isn’t too bitter, I’d avoid IPAs.
- 8 tbsp light DME
- Dried Malt Extract – available from homebrew shops and sometimes “Cooper’s” brand in Tesco homebrew sections. Or sub in the same amount of malt syrup, or molasses, or treacle, or honey, or brown sugar…
- 1 inch ginger – thinly sliced
- 2 good sized garlic cloves
- 2 stars of star anise
- 4 tbsp gochujang
- A really yummy hot & sweet paste available from Korean food stores but sometimes in other general Chinese/south-east-Asian stores. Sub in the same amount of tomato paste/concentrate if you cannot get the chilli paste and about 1 tsp of hot cayenne powder per tablespoon of paste.
- sea salt – depends, see calculation below
I’ve opted for a target 4% brine – to calculate the amount of salt weigh your pork belly in the brining container (~2200g in my case) and then fill with water until the belly is securely covered (about 1cm depth should do), remove the belly, and note the weight of the water (~2500g in my case). To calculate the amount of salt to use use 4% of the combined weight, i.e. (2500+2200)*0.04 = 188g. I should probably do other ingredients proportionally too… but so long as your pork belly is about 2kg the above should be good enough for replication. If repeating this myself I’d probably try a 3% target instead as the end product was just a little to the salty side. As ever do think about how to tweak it and make it your own, that’s the fun of cooking!
Crush the star anise in a mortar add ginger and garlic and pound them until roughly crushed. Put the salt, DME, garlic, ginger, star anise and chilli paste into a saucepan with 500ml of water. Heat until simmering and whisk vigorously until everything is combined and the salt dissolved. Put the remaining required cold water into the brining container (i.e. 2500ml – 500ml – 1000ml of beer = 1000ml cold water). To this add the hot brine mixture and then pour in the litre of beer.
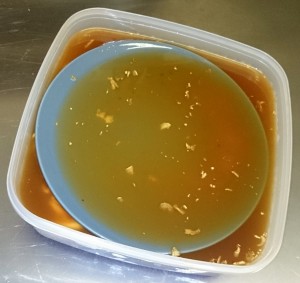
Submerge the pork belly in the brine. Weigh down with a plate. Cover and pop into the fridge for 24 hours.
Stage 2: Beery Char Siu Marinade
This marinade is loosely based on char siu recipes found online, many recipes use Hoisin sauce but that’s a bit cheaty to me so I’ve replicated the flavour in this marinade by using Korean chilli paste and some Japanese miso. To add the beery edge to this marinade a large volume is made up of the same homebrew saison used in the brine plus the sweetener used is DME to add a Horlicks-like malty note.
Equipment needed:
- The container the pork was marinated in
- A small food processor to combine the marinade
- Tablespoon and teaspoon measures
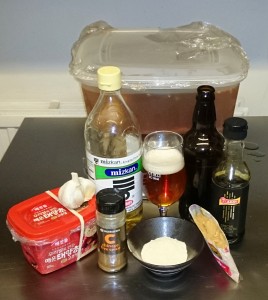
Ingredients – good for ~2kg pork belly:
- 20 tbsp saison beer – see previous ingredients list
- 10 tbsp DME – see previous ingredients list
- 5 tbsp miso
- Easy to find in supermarkets. I’ve used shiro (white) miso – but would have used aka (red) if I’d had some handy.
- 5 tbsp gochujang – see previous ingredients list
- 2 tbsp soy sauce
- 2 tbsp rice vinegar
- 3 minced garlic cloves (10g)
- 1 tsp Chinese 5-spice
Pop all this into a small food processor and blitz until thoroughly combined.
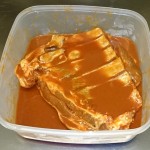
Remove the pork belly from the brine, tip brine out, rinse belly, and place back into emptied container. Slather with marinade, working into any nooks and crevices.
Pop the lid on and put the container back in the fridge. This marinade should be on the pork for at least 12 hours. In this time flip the belly once or twice to help even marinating of the meat. (If you have a big enough ziplock or vac bag to put the belly and marinade in this is an even better way to do it.)
Stage 3: Slow Roast
Equipment:
- Oven – preheat to 150C
- Roasting dish that the belly fits into snugly
- Brush/baster for basting
- Small knife & a fork
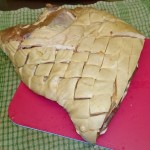
Remove pork belly from marinade, let excess drip off, and place into a baking tray skin-side-up. Pop into the oven for 3 hours, basting lightly with some of the excess marinade every hour. (Just pull the whole thing out of the oven quickly and slap a bit of marinade on with a pastry brush.)
After three hours remove from the oven and carefully remove squares of skin that up until now have protected the underlying fat from burning. This is easy to do with a fork and a small knife. Baste thoroughly and pop back into the oven at 120C for another hour basting again after half an hour.
Stage 4: Lightly Smoke
The light smoking has been done to add a more “BBQed” effect that you can’t get using an oven. This smoking is entirely optional – or you may even be lucky enough to own the equipment to do that actual slow-roast in a smoker… in which case I envy you! If you are going to do the smoking as I have done it then be prepared and ready to go when the slow roast is complete.
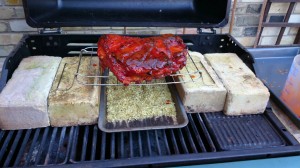
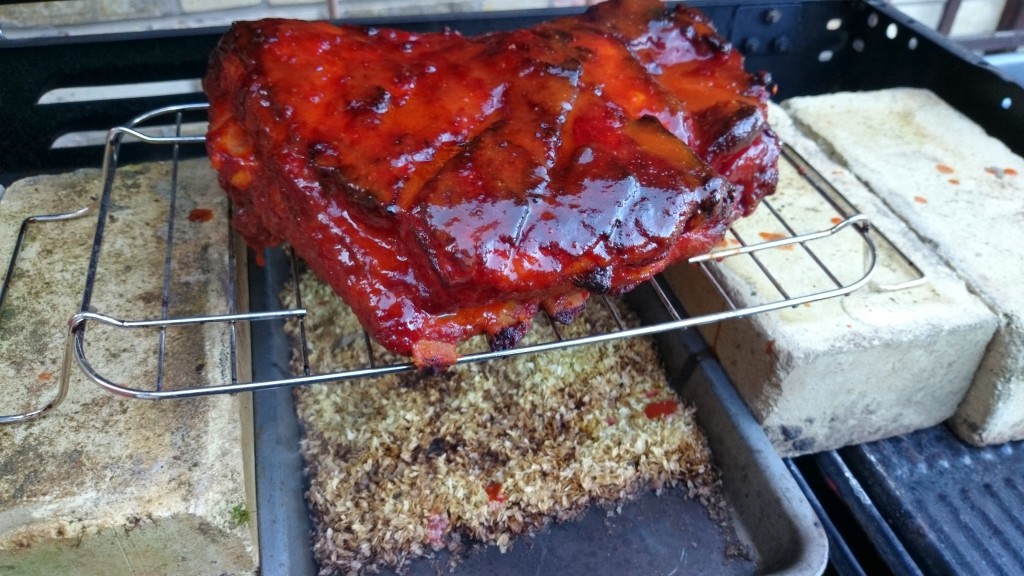
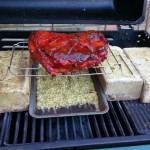
Equipment – see photo:
- Decent size BBQ with hood
- A couple of bricks
- A small cheap/disposable metal tray
- A mesh rack to place belly on
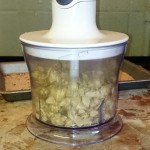
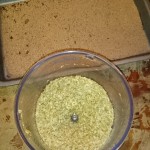
You can buy smoking sawdust online, but I have some applewood logs from a local orchard and I made my own sawdust by sawing cuts into a log with a hand-saw. This is proper “slow food”! Just a couple of good handfuls of sawdust is enough. I’ve also added hops to the smoking fuel – the smell when the hops are smoking is amazing (and may cause neighbourly raised eyebrows), I’m not sure how much difference using hops specifically makes to the smoked flavour though. A couple of handfuls of hops are chopped thoroughly in a food processor.
The sawdust & chopped hops are placed in an old unused oven tray in my hooded gas BBQ. The pork is propped up on a wire rack a couple of inches above it, supported on a couple of bricks. A fresh lot of marinade is painted over the top-side and edges of the pork. The BBQ is turned on low until the sawdust starts to smoulder and then the hood is put down. I painted on a second lot of marinade after 10 minutes and gave the belly 20 minutes over smoke all up (by which point my smoking fuel was mostly blackened & spent.)
Serve!
While the smoking is happening I strain all the leftover marinade and pan juices into a saucepan and then boil this down to a double-cream thickness (as observed in a blow-cooled soup-spoon of sauce). This sauce was pretty salty – use sparingly, I drizzled just a little on the pork and put the rest in a gravy jug.
Stick the belly on a huge tray and give everyone a bun and a fork & knife! :) Two four six eight, BOG IN, don’t wait.
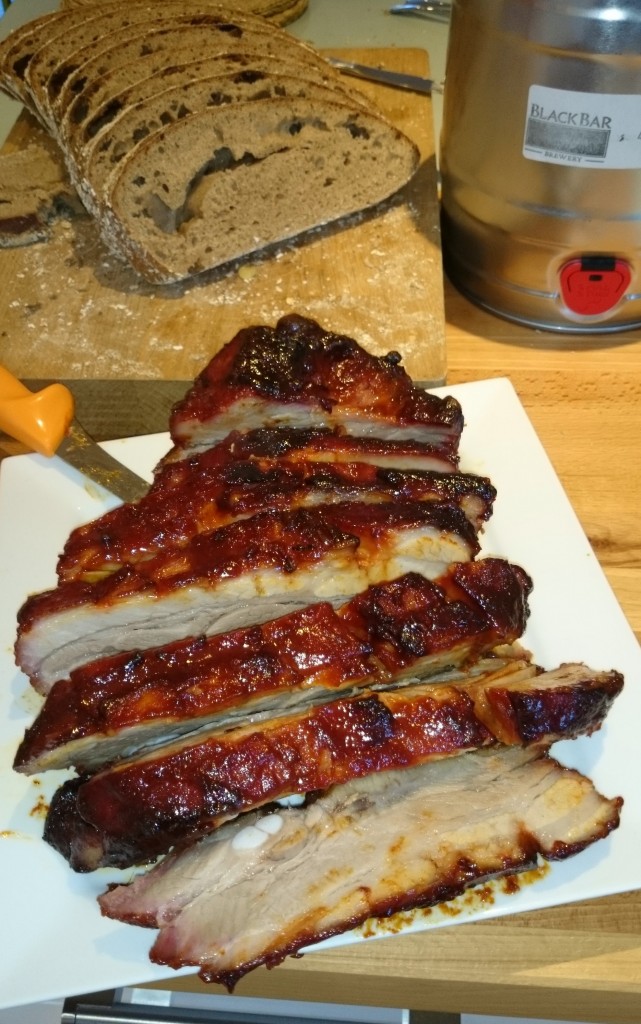
I’m pretty sure the “beery” element came through in the pork, albeit as part of a melange of BIG flavours so this wasn’t all about the beer. More an underlying saison-booziness. I made a sourdough based on the same saison to complement the pork – 80% white, 20% wholemeal, 50% liquid ingredient was the same beer used in the brine & marinade. It soaked up the rich marinade juices wonderfully.
Full Photoset
-
Brine Ingredients
-
Score deeply.
-
Marinade Ingredients
-
Use a plate…
-
Post-brining.
-
Marinating…
-
Into a roasting dish…
-
Log sawin’
-
Removing skin…
-
Hop choppin’
-
Smoke “ingredients”
-
Just out of the oven.
-
BBQ smoking setup
-
Smokin’!
-
Straight off the BBQ
-
Char-Siu-ish Pork Belly
-
Char-Sui-ish pork & sourdough
- Brine Ingredients
- Score deeply.
- Marinade Ingredients
- Use a plate…
- Post-brining.
- Marinating…
- Into a roasting dish…
- Log sawin’
- Removing skin…
- Hop choppin’
- Smoke “ingredients”
- Just out of the oven.
- BBQ smoking setup
- Smokin’!
- Straight off the BBQ
- Char-Siu-ish Pork Belly
- Char-Sui-ish pork & sourdough
Beer Brined Pheasant
… though I prefer the sound of “Beerinated Pheasant“.
I picked up a couple of decent sized pheasant at my local butcher. It is the season… I do miss my old local in Hitchin where we knew a chap who kept us well supplied with pheasants, and other beasties, throughout the appropriate seasons. It feels a bit wrong buying oven-ready birds. But 8 quid for a brace without having to do the tedious plucking and messy gutting isn’t bad, you’ll pay more for a good chicken yielding a little less meat. While they’re “game” I don’t really think of pheasant as a “wild” bird. Almost all will have been cage raised, when you get them their crops are full of grain, and they really aren’t “gamey” – you need to give them at least a fortnight hanging to get any real decent gamey flavour. For the most part pheasant are best thought of as equivalent to a fine outdoor reared chicken, with an edge more flavour – especially around the fatty areas. If you have a good source then sometimes you’ll be lucky enough to get one of last season’s birds that has been roaming free for a year… deluxe! (Best Coq au Vin ever – or Coq au Bière!)
Anyway – the pheasant put me in mind of my old Poacher’s Pheasant Stew recipe, and I figured it was about time I did some beery cooking for this old blog thing. I’ve done beer brined chicken before and I figured: why not pheasant?
The Useful Content: Brining Your Bird
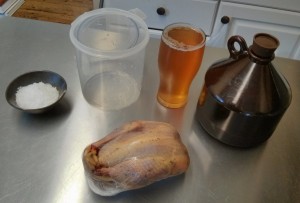
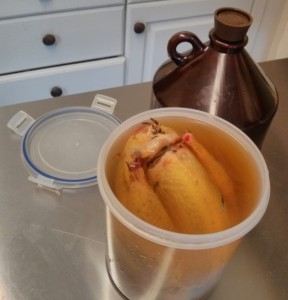
I work with a simple target 5% salt solution when brining like this, it’s hard to over-salt the bird at this strength but the solution is strong enough to have the desired affect. The recipe below is for just 1 litre of brine, as this plus one pheasant fits nicely into a 1.9 litre clip-seal container I have (see photo). You can easily make & add more brine if needed.
- Measure 50g of sea salt into a container.
- Add 100ml of hot water from a kettle and dissolve salt.
- Pour in a pint of beer – something not too bitter, a rich golden ale is good.
- Top up with cold water to make a litre of solution.
The Beer: The beer I chose for this was a take-home pint of The Brew Company “Simcoe“ (3.8%) from my local, a light ale with very grapefruity flavour notes (thus it must be craft!). I’d have preferred something with a bit more malt richness in it, but there were only a couple of other ales on and one was a stout (too dark IMO) and the other too bitter.
[Update 2014-03-15: I repeated this recipe using a bottle of Badger Blanford Flyer plus a bottle of Brain’s Barry Island IPA. Both beers I’d bought two of and discovered once was enough… too sweet. The brine worked brilliantly making for a very tasty pheasant with no hint of bitterness.]
The Salt: I used Maldon Sea Salt, posh stuff but the only thing I have handy that doesn’t have “anti-caking agent” in it. When brining a general rule of thumb that I’ve picked up from my reading is to find a “plain” salt without additives. I’ve never actually tried brining with a salt that has anti-caking agent in it though, I expect it’d probably work out fine.
Other Flavours: If you like add other flavour ingredients to this at the start with the salt. Bay leaves, juniper berries, a bit of rosemary, cracked black pepper, some crushed garlic… any of the “usual” aromatics. It helps if you give them a good crush or crumple. I’ve stuck with just beer because I was interested in how “beery” the bird would end up.
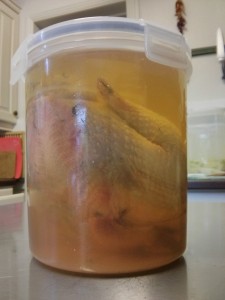 Brine It: Pop your pheasant into a container or suitably sized zip-lock bag and cover with brine. Ensure it is fully submerged. I’ve put a small plastic container under the lid of the bigger one to force the bird into the brine. If you need more solution to cover your bird then make it up as 5:100 salt to water ratio. I.e. 500g (ml) or water (and/or beer) plus 25g of salt.
Time: Give the bird at least 24 hours in the brine, I’ve done a chicken for 48 hours before and it turned out fine. In fact with a bigger bird 48 hours might be better than 24.
So… here’s one I prepared earlier… remove the bird from the brine and voilà! Brined pheasant. You can now do with this whatever you want. It’ll work jointed and braised, braised whole, or simply roasted. Basically, pick a suitable pheasant recipe that you like the sound of, roasting is where the brining really has the most marked positive results. Read on for what I did with my brined pheasant…
Roast beer-brined pheasant…
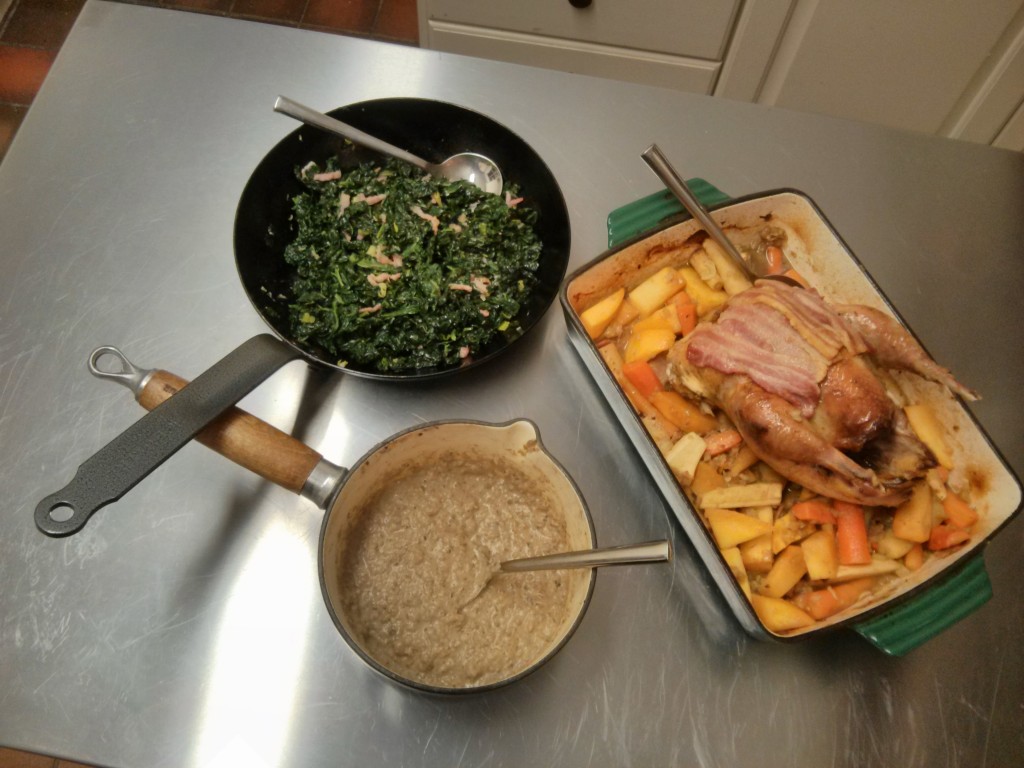
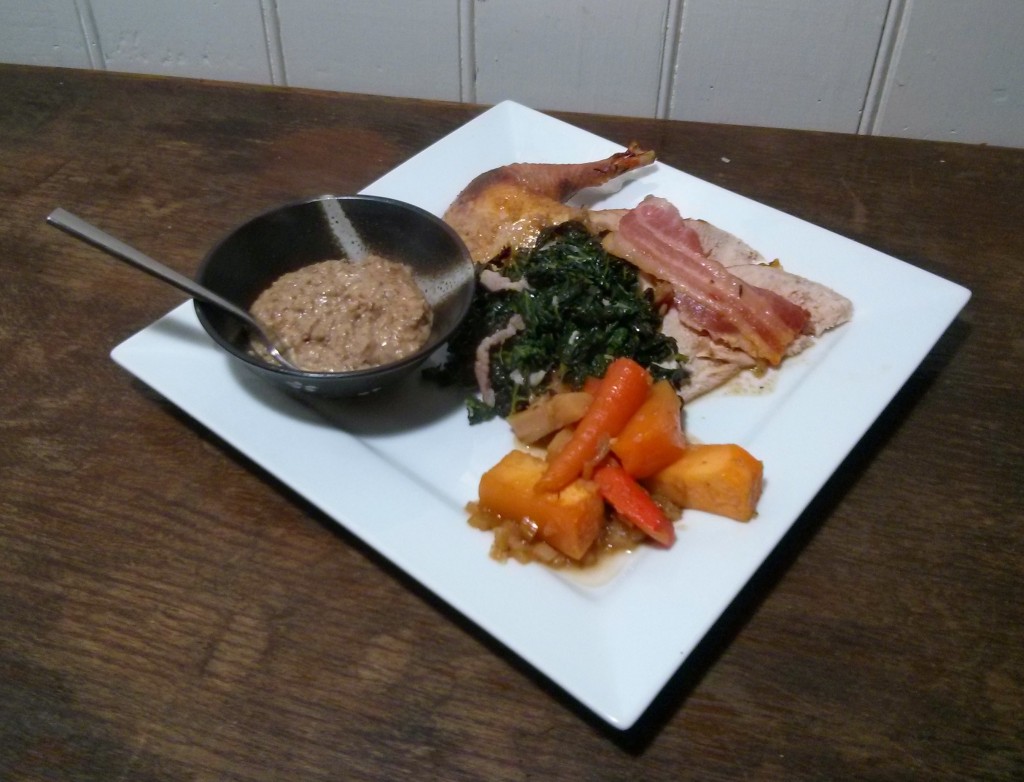
… with roast veg, garlicy bacon cavolo nero, and beery walnut bread sauce.
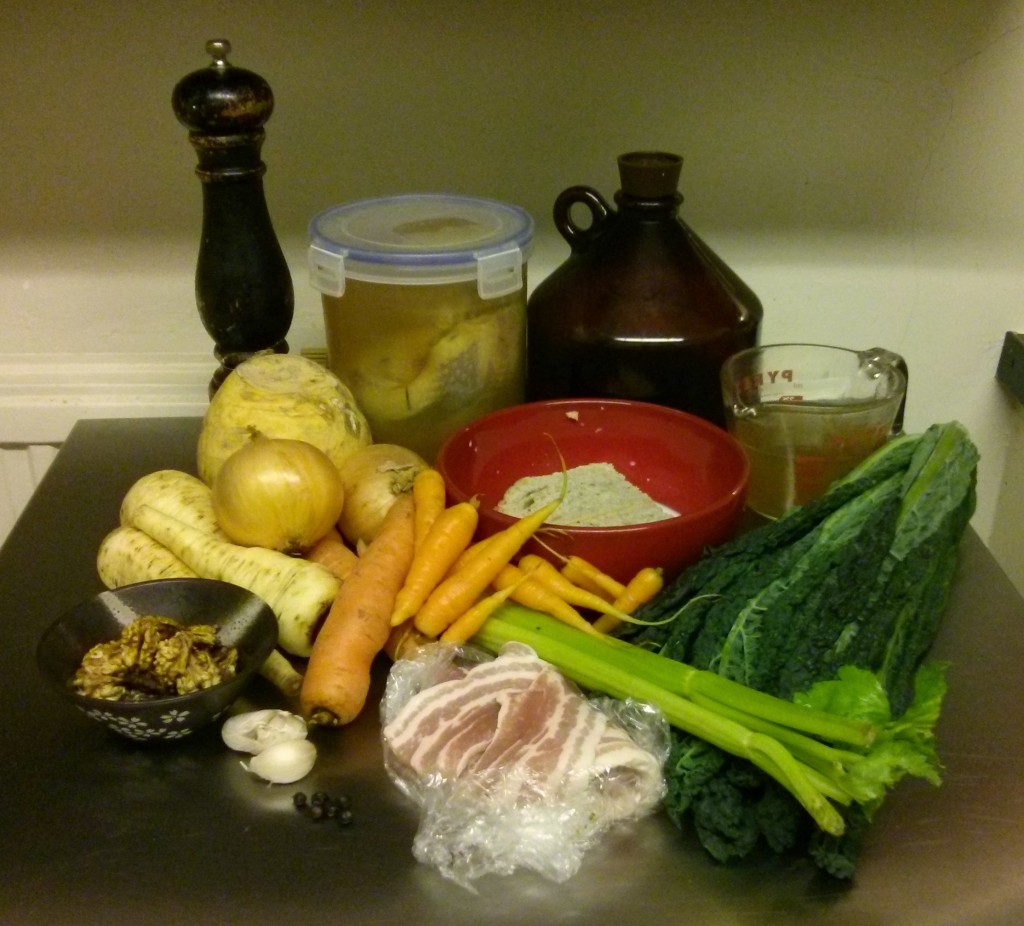
What you need… in general:
- Beer! Just a splash here and there – you can drink the rest. :)
(Avoid the very dark and very bitter.) - A bit of cooking oil, salt, and pepper as required.
- A whole beer-brined pheasant (as per above).
- Four and a half slices of unsmoked streaky bacon.
(Other half is used in the cavolo nero.) - A cup of chicken stock (game stock would be good, veal stock would do).
- Four cloves of garlic – thinly sliced.
- 6 juniper berries – well squashed.
- A couple of sticks of celery – 5mm dice.
- A medium brown onion – 5mm dice.
- Roasting veg, all peeled and diced into chunks about as big as the end of an average sized thumb! (Well, about an inch by half an inch.) Put them in a bowl and toss with a little olive oil (or other variety) until lightly coated. I used:
- Two medium parsnips
- Two carrots
- Half a swede
- A handful of baby carrots
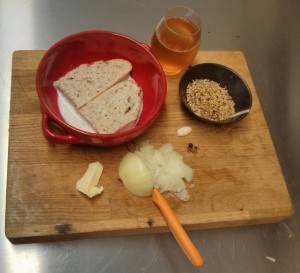 …for the beery walnut bread-sauce:
- A slice of good firm bread – I’ve used a pretty rustic sourdough.
- Some milk.
- Some walnuts – about 50g will do, chopped to “breadcrumb” consistency.
- A 20g knob of butter.
- Half a small brown onion – finely diced (2mm).
- A small garlic glove – crushed/grated/pasted.
- 2 juniper berries – squashed and chopped
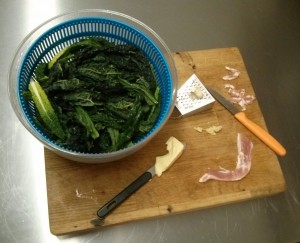 …for the garlicy bacon cavolo nero:
- One cavolo nero, or a suitable amount of leaves – with stems stripped out.
- Half a rasher of streaky bacon – finely sliced.
- About 20g of butter.
- A small clove of garlic – crushed/grated/pasted.
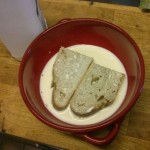
At least an hour in advance, put your firm bread into a bowl (cut/tear it if needed) and douse with just enough milk to soak it.
Pre-prep all the ingredients as described above.
Get the roast going: Preheat your oven to 230°C. Roughly chop two strips of streaky bacon and sizzle in a little oil. I do this directly in my cast iron baking dish. When the bacon is just beginning to brown toss in the diced onion and celery and sizzle this until the celery and onion is just lightly browning as well. At this point pour in the chicken stock and half a cup of the beer. Use the liquid to scrape off any browned-on residue, add the garlic and juniper berries, and bring this lot to simmering point. Now you can turn off the heat and place the pheasant in the middle of the roasting-tin breast-side-up. Bard the pheasant with a couple more strips of streaky bacon and pack the vegetables around the bird. Now into the oven with it – turning the oven down to 180°C immediately. Set a timer for 45 minutes.
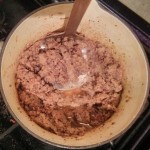
Make the beery walnut bread-sauce: Lightly brown the walnut crumbs in a small saucepan, add the knob of butter and the onion. Cook on low heat for 2 minutes to just soften the onion. Add the garlic and juniper berries – which have both been crushed and finely chopped. Soften the spices for a minute before adding the milk-soaked bread and any milk with it, roughly tear this up. Heat and stir/mash to combine in the bread – the sauce should thicken considerably. Wet it with some additional milk if it isn’t a paste already. Add a splash of beer at a time, tasting as you go with an aim to get a beery flavour without undue bitterness. As you’re doing this you can also add salt to taste, which can balance the bitterness. As the sauce simmers it will continue to thicken, once you’re happy with the flavour imparted by the beer start adding milk instead in order to bring the sauce to a suitable consistency (which is up to you really, I aimed for a “heapable” paste). Put a lid on it and set it aside somewhere warm.
Turn your attention back to the roast: By this stage your roast has probably reached 45 minutes. Remove from the oven, I checked the internal temp deep between the leg and the body – 65°C, fine. Remove the bird from the baking tray and place aside on a warmed plate. Toss the vegetables in the roasting dish to get a bit of moistness on them and pop them back in the oven. They’ll probably need at least another 20 minutes until they’re suitably cooked. Optional: Take the bacon off, rub the breast with a little butter, place the bird under a low grill and carefully brown the breast. This isn’t just cosmetic, but it makes more of a cosmetic difference than a flavour difference – thus optional. Place the bird breast-side-down in its warmed bowl, putting the bacon next to it, cover with foil and put somewhere warm to rest. (I popped it into the top-oven, which is nicely warm while the veg are still roasting.)
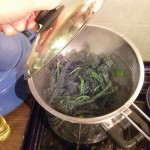
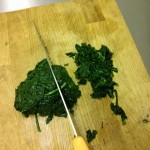
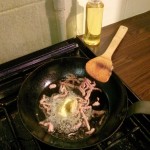
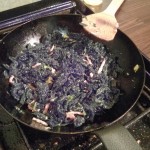
Fry up the cavolo nero: Simple: steam the leaves in a colander over boiling water until “tender” (a couple of minutes). Let them cool a little before chopping roughly. In a fry-pan lightly brown the streaky bacon in a smear of oil. Pop in the nugget of butter and melt this then add the garlic. Let the garlic sizzled just a little, 15 seconds is plenty, then put the cavolo nero in and toss vigorously to coat the leaves in garlicy bacony buttery goodness. Done!
Time to “plate up”: The roast veg should be done by now, so we’re ready to serve. How you present this is up to you. I’d flip the bird back to breast-side-up, pop the bacon back on top, and take the lot to the table as-is and carve & dish-out to warmed plates at the table. The bread-sauce may need a little warming through before going to the table. On the plate I’ve simply put down a sample of each item, a small bowl of the bread sauce, and the beery juices from the pan with celery & onion are drizzled here and there.
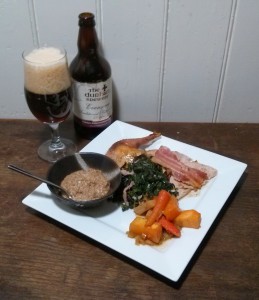 Serve, of course, with some good beer. If you’ve used take-home beer in the dish like I did it is probably a bit flat & dead by now if you still have any left. I served this dinner with Durham Brewery “Evensong” (5%)… which was a perfect match to a rich game dinner. The beer has a solid toasty backbone, it’s malt-forward and compliments both the season and this autumnal meal. My check-in note for the beer was: “Easy drinking amber ale. Very good with a bit of roast pheasant. Robust yet smooth flavour of maltloaf, cola, and summer hay.” The brined pheasant retained an excellent moistness thanks to the brining and had picked up a subtle beery note, too subtle perhaps, though it seemed more distinct when I tried some cold the next day. The beery notes were more to the fore in the bread sauce and pan juices and really are best described as “beery” – no fine nuances. It had tended a little to the bitter side in the pan juice, but this was no trouble as this was used sparingly anyway. Overall – a success. I’d like to try brining pheasant with some different beers to test the differences – something like my side-by-side IPA beer batter test, but I really need to invite some folk over to test the results for this one!
Enjoy!
Kitchen Experiments: British IPA Tempura
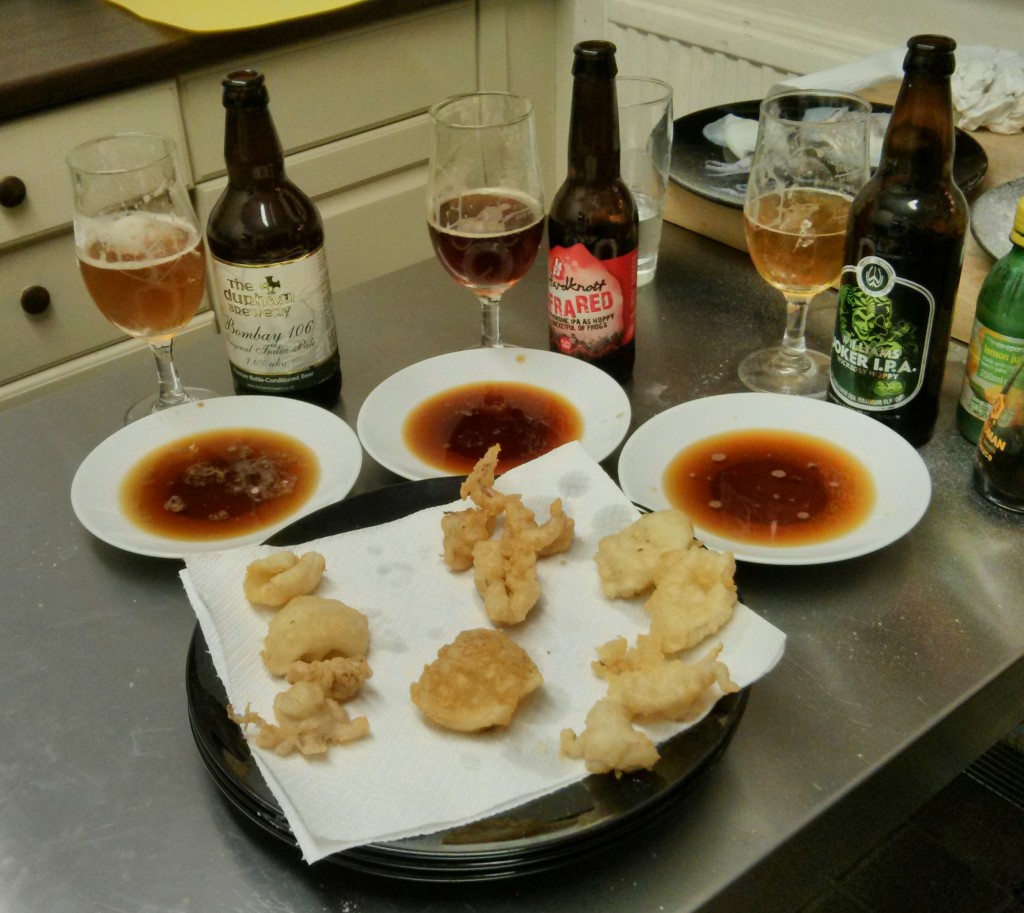
 I’ve had it in my mind for a while to try “IPA Tempura” and I bought a few bottles of IPA-type beers to do this with. About a month ago, finally, the experiment happened. From an original six IPAs I picked three to try this with (to make it more manageable when only cooking for two people, plus I’d drunk one of the original six already… oops.)
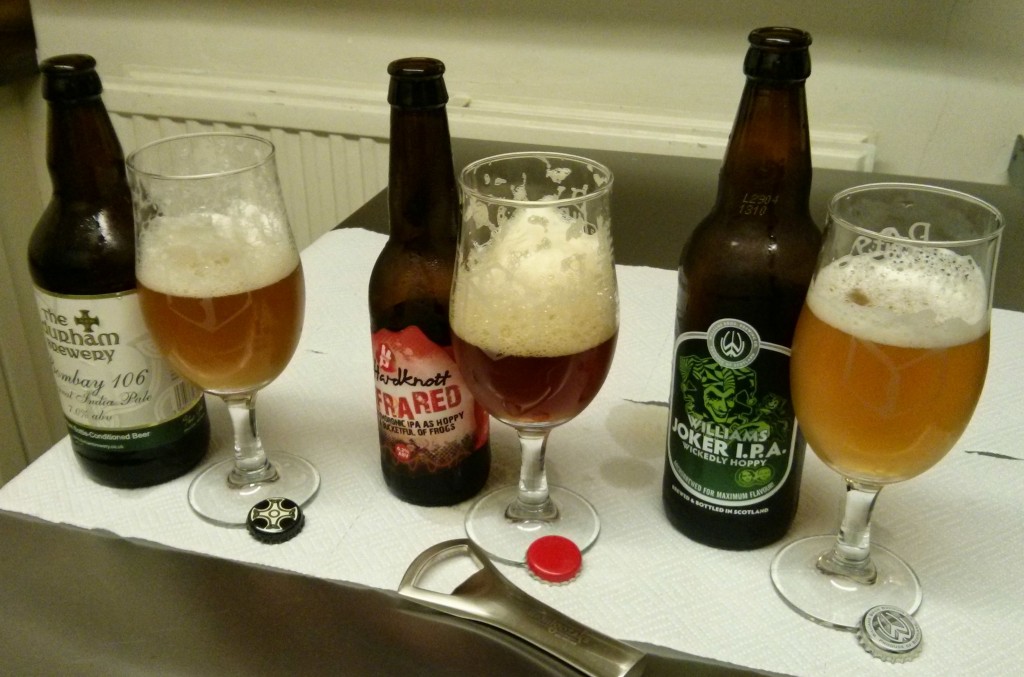
The IPA-type-critters I selected were:
- Durham Brewery “Bombay 106” (7.0%) – styled as a “traditional IPA” this uses pale malts and a lot of British hops, it is dry-hopped with Goldings. What we get in the mouth is a big earthy IPA – full of peppery spice and resiny bitterness. Not your brash new-world hop-aroma-explosion, something far more cultured. Imagine it sitting in a big old leather chair, reading a leather clad tome, wearing a dinner jacket and smoking a pipe.
Pale Malts – British Hops – EARTHY IPA - Hardknott “Infra Red” (6.5%) – a pretty punchy IPA-type beer, it describes itself as “oxymoronic” being a “red IPA”. Infra Red has been one of my favourite beers since I discovered it some years past. I think it may have changed a little through time, becoming just a little cleaner & lighter, less full figured – but it is certainly still a head-turner. Anyway – a rich beer with a powerful hop hit using some new-world hops.
Darker Malt Body – American Hop Punch – RICH RUBY IPA - Williams Brothers “Joker” (5%) – this is more a what I consider a “British IPA”, it takes on the big American hops and combines them with a crisp clean pale malt base without the big sweet caramel note present in a lot of US IPAs. Yanks call it “balanced”, I call it beer that tastes like Werther’s Originals. That said, this Joker was a bit on the lighter side as far as the hops go – almost more of a hoppy golden ale than an IPA. Nimble, light on its feet, a beer that can very easily slip past you leaving the merest whiff of its presence.
Pale Malts – US-Hop Dominant – CRISP LIGHT IPA
Now unfortunately I didn’t get a really brilliant British “pale” IPA, my favourite variety – crisp, low sweetness, light malt profile, about 6%, and super-charged with hops. This was the sort of beer I had, for some reason, expected the Joker to be… so I was a little disappointed. But oh well!
Preparation
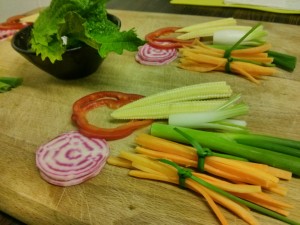 Things to tempura…
For “tempura-ing” I have “candy” beetroot (from my own garden), red pepper (capsicum), baby corn, carrots, and spring onions plus some defrosted frozen “baby squid”. To prepare:
- Slice beetroot into 2mm thick slices – best to use a mandolin.
- Slice pepper into 2mm thick rings – mandolin again.
- Halve the baby corns.
- Halve the spring onions lengthways and separate tops from bottoms.
- “Matchstick” the carrot and tie in small bundles with some garlic chives.
- Pull tentacles from squiddies, and open out and halve the bodies and give them a light cross-hatch scoring across the inner flesh.
Make sure all of the above is dry, pat dry cut surfaces and rest on paper towels.
Oil…
You want to get your oil on the stove before preparing the batter. Please be careful with hot oil, it is dangerous and over-heated oil can combust! Remember: Don’t drink and fry! You really want to have a suitable thermometer to monitor your oil temperature.
I’m using a litre of sunflower oil (under £2 worth), but any oil suitable for deep-frying will do the job. Use plenty and put it in a saucepan/pot that leaves plenty of space. Preferably on a burner at the back of the stove. Get the oil in the heat – your target temperature is 180°C.
If you have a deep-fryer this is all much simpler!
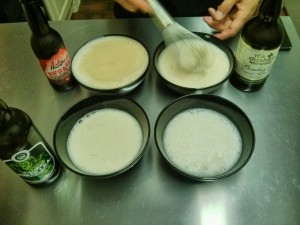 Batter…
One of the well known “secrets” of tempura is cold batter. Some recipes call for icy cold water others for everything being at fridge temperature. So two hours before preparation I put a bag of ordinary plainflour in the freezer. I put my eggs and beers into the fridge (~4°C). Then 15 minutes before production I popped my beers into the freezer too. It’s going to be one FRIGID batter.
Batter ratio based on a single large egg:
- 1 large egg
- 120g plain flour
- 190ml beer/water/liquid
I have also made a “control” batter that uses ice-cold water instead of beer.
To mix the batter simply put the egg into a suitable bowl, whisk it until combined, whisk in the beer (gently, it’ll “fizz”), then mix in the flour. The flour should be very loosely mixed in – a bit lumpy is what you want. To aid this, and to seem more authentic, my mixing tool of choice is chopsticks. :)
FRY!
Your oil is at 180°C… your batter is mixed (if there is any delay pop your batter in the fridge, but aim to have no delay), your tempura-bits are prepared, it is fry o’clock!

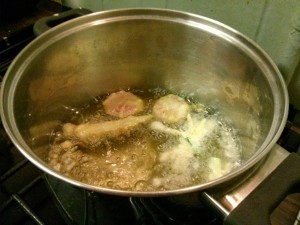
Quickly and carefully dunk an item in the batter then drop it into the hot oil. It is good to have the item a bit drippy, this adds to the tempura effect. Do a few items in quick succession – do not over-crowd. Let them fry for about a minute, then flip and give another minute before fishing out and putting on paper towel. Let the oil return to 180°C before doing the next batch.
For raw seafood that isn’t sashimi-grade you may want to fry for a little longer, experiment and work out what the “sweet spot” is. For thin small/squid like mine I think a minute extra is plenty.
 Enjoy!
Tempura is best enjoyed right away. If cooking for others aim to be serving straight from fryer-to-table in batches. For a more social time hang out in your kitchen with some beers. (Please be sensible with the beer whilst hot oil is in action!)
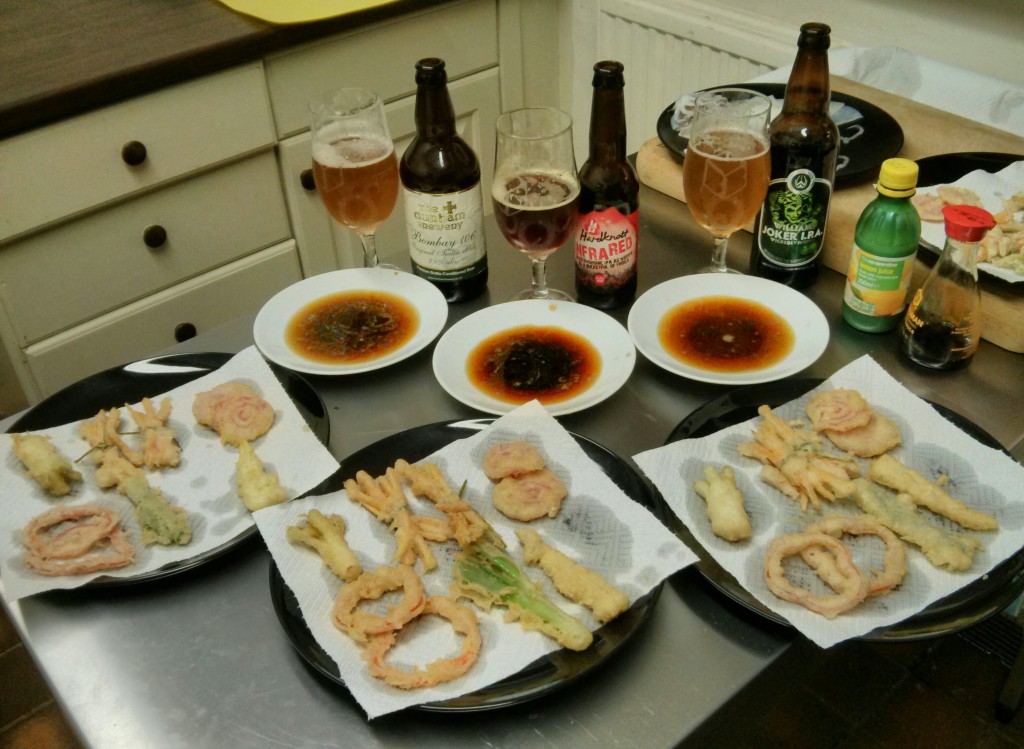
A bit of a dipping sauce is normally served with tempura – a simple one combines soy sauce umami with the zing of lemon juice or rice vinegar. Based on this I knocked up a sauce for each beer. About 4 tablespoons of the beer, 1 of soy, 1 teaspoon lemon juice (from a bottle alas), and a splash of rice vinegar “to taste”.
Analysis…
So – do we have a winner here? Not a clear one. Kat prefers the Joker based batter, and on the topic of the sauce “none of them” – if pressed she preferred the Bombay 106 as she enjoyed the decent beery hit it gave. I’m told I should have put less beer in the sauces :( Kat also says the Infra Red would probably be more suited to something of a pakora … there’s an idea for next time! :)
Each batter definitely had its own character – note no seasoning was used, no salt and no pepper – the dipping sauces provided some seasoning but my tasting of the batters didn’t use the sauces. All three beer batters gave a distinct “seasoned” edge, an umami, that the plain batter lacked. They also coloured up more than the plain batter – possibly due to sugars in the beer (the Infra Red batter was always noticeably darker – not surprising). The Joker batter simply tasted like a damn good batter, not specifically beery and with no bitterness. The Infra Red batter was the most true to its beer – mainly a malt profile thing, but also with a touch of hop bitterness & resin coming through. The Bombay 106 was the most definitively “beery” batter – it has a beery flavour, and the most distinct bitterness. By comparison to all three the plain batter was a bit… dull, really. None of the beer batters seemed to be better than the other for “tempura effect”, however the plain one was a little less “puffy” and more authentic in appearance.
As for the dipping sauces – they had very similar characteristics, but were all more noticeably beer-based. The Joker was a smooth sauce that complemented all batters. The Infra Red was my preference – it tasted unmistakably of the beer and needed to be used in moderation. Whilst the Bombay 106 tasted like serious “beery soy”, and I didn’t really like it that much.
Were I to serve a beer battered thing to someone based off this experience which would I choose? I’m not sure – I think it would be down to context. If I simply wanted a good versatile batter the Joker is ahead of the game here – because it is a pretty normal beer with enough body to beef up the batter but simple and light enough to not distract or clash. I’m not really sure why or how it is an “IPA” but it is a good beer. If I want to showcase a beer edge then it is the other two that have that edge, with the Bombay 106 being suitable for both the squid and the vegetables. The Infra Red batter was specifically Infra Red flavoured and was a good complement to the vegetables, but was too much for the squid. If I was trying to highlight specific beer flavours matched against the beer in question it’d be the full Infra Red set I’d pick (batter, sauce, and beer).
As for pairing with tempura-everything? Again the Joker wins here. It isn’t anything crazy or different on the beer-front, but it has a good body and flavour to match the battered goodies – complementing without overwhelming.
There’s no clear winner here – but that was never the point! The point is beer batter isn’t just beer batter – the beer you choose is important. I’d be interested to know what successes, and perhaps failures, others have had with beer batters.
Right now I’m wondering how a stout would go in a batter for sweeter vegetables. Or perhaps for deep-fried black pudding… or haggis? *SQUELCH* *POP* *BOINGBOINGBOING*[1]
[1] …the sound of my heart tearing free of my chest, popping out my mouth, and bouncing off into the distance whilst making sad whimpering sounds.
Z5ZV4A3YYCTF
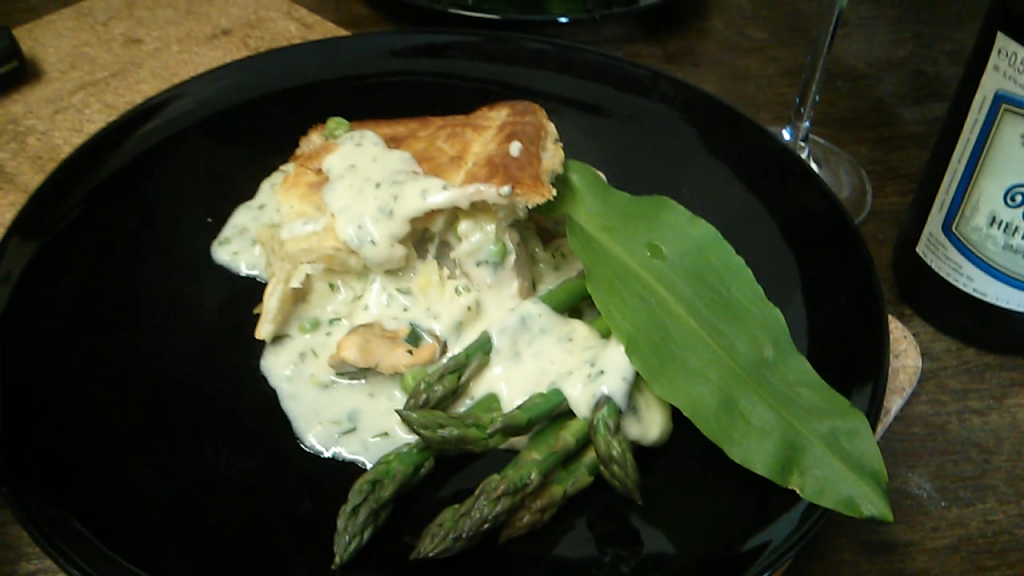
Weisse Fish Pie
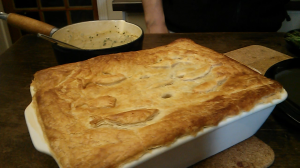 Video, what a faff! A few weeks back I was inspired to try filming a recipe by a “Frozen Food Federation” competition to win an all-expenses paid trip to Noma *drool*. That’s why I did the Wild Garlic post – it was a “test run”. Alas I didn’t even make the finalists, but after I and Kat both spent some hours wrangling video editing software in Linux it would be a shame to let this rot on a harddrive… or, perhaps it would have been better left hidden away? I talk a lot… but when listening to this I think “argh, I hate the sound of my own voice!”
The recipe does, of course, involve beer – this may have counted against me? Who knows, but at the end of the day the Fish Pie was highly enjoyable and the beer worked perfectly in the recipe. The beer used is the Weisse Hefeweizen Hell from Brauerei Josef Greif – a fairly light hefeweizen with all the expected spice notes, it seemed right. I know I make a mess of describing the beer in the video… *sigh* I’m not much of a writer, but I’m even less of a talker when “on the spot” it seems. Well, if you have 12 minutes 42 seconds to waste here’s my “Weisse Fish Pie”:
The ingredients were:
- 300g Frozen Smoked Salmon Fillets
- 400g Frozen Smoked Haddock Fillets
- 350g Frozen Mixed Seafood
- 120g Frozen Peas
- 1 sheet Frozen “Jus Rol” Puff Pastry
- 300ml Milk
- 300ml Hefeweizen
- 2 sticks Celery
- half Medium Brown Onion
- 2 Cloves of Garlic
- 2 Cloves
- 85g Salted Butter (60 for roux, 25 for sauté)
- 60g Plain Flour
- 1 medium Fennel Bulb
- 1 medium Leek
- 50g Fresh Tarragon
- 50g Fresh Wild Garlic (or Chives, or Spring Onion)
The “method” is all in the video!
