 I’ve had it in my mind for a while to try “IPA Tempura” and I bought a few bottles of IPA-type beers to do this with. About a month ago, finally, the experiment happened. From an original six IPAs I picked three to try this with (to make it more manageable when only cooking for two people, plus I’d drunk one of the original six already… oops.)
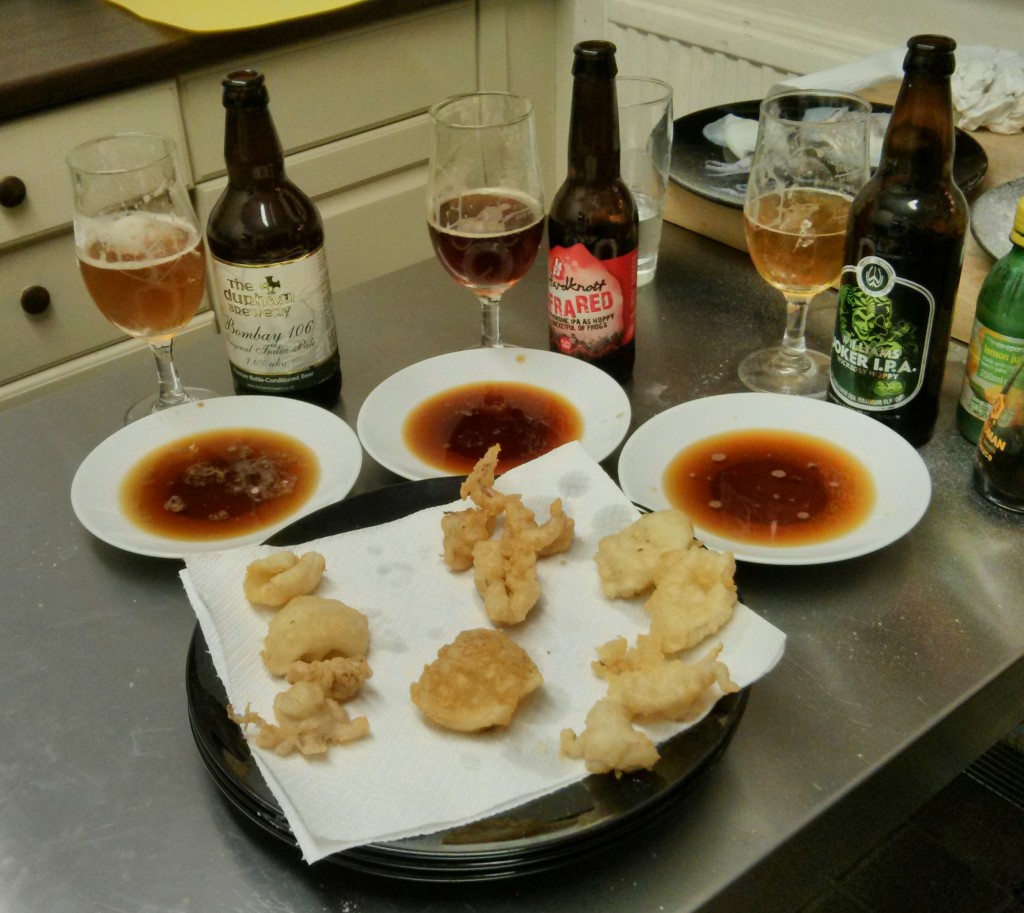
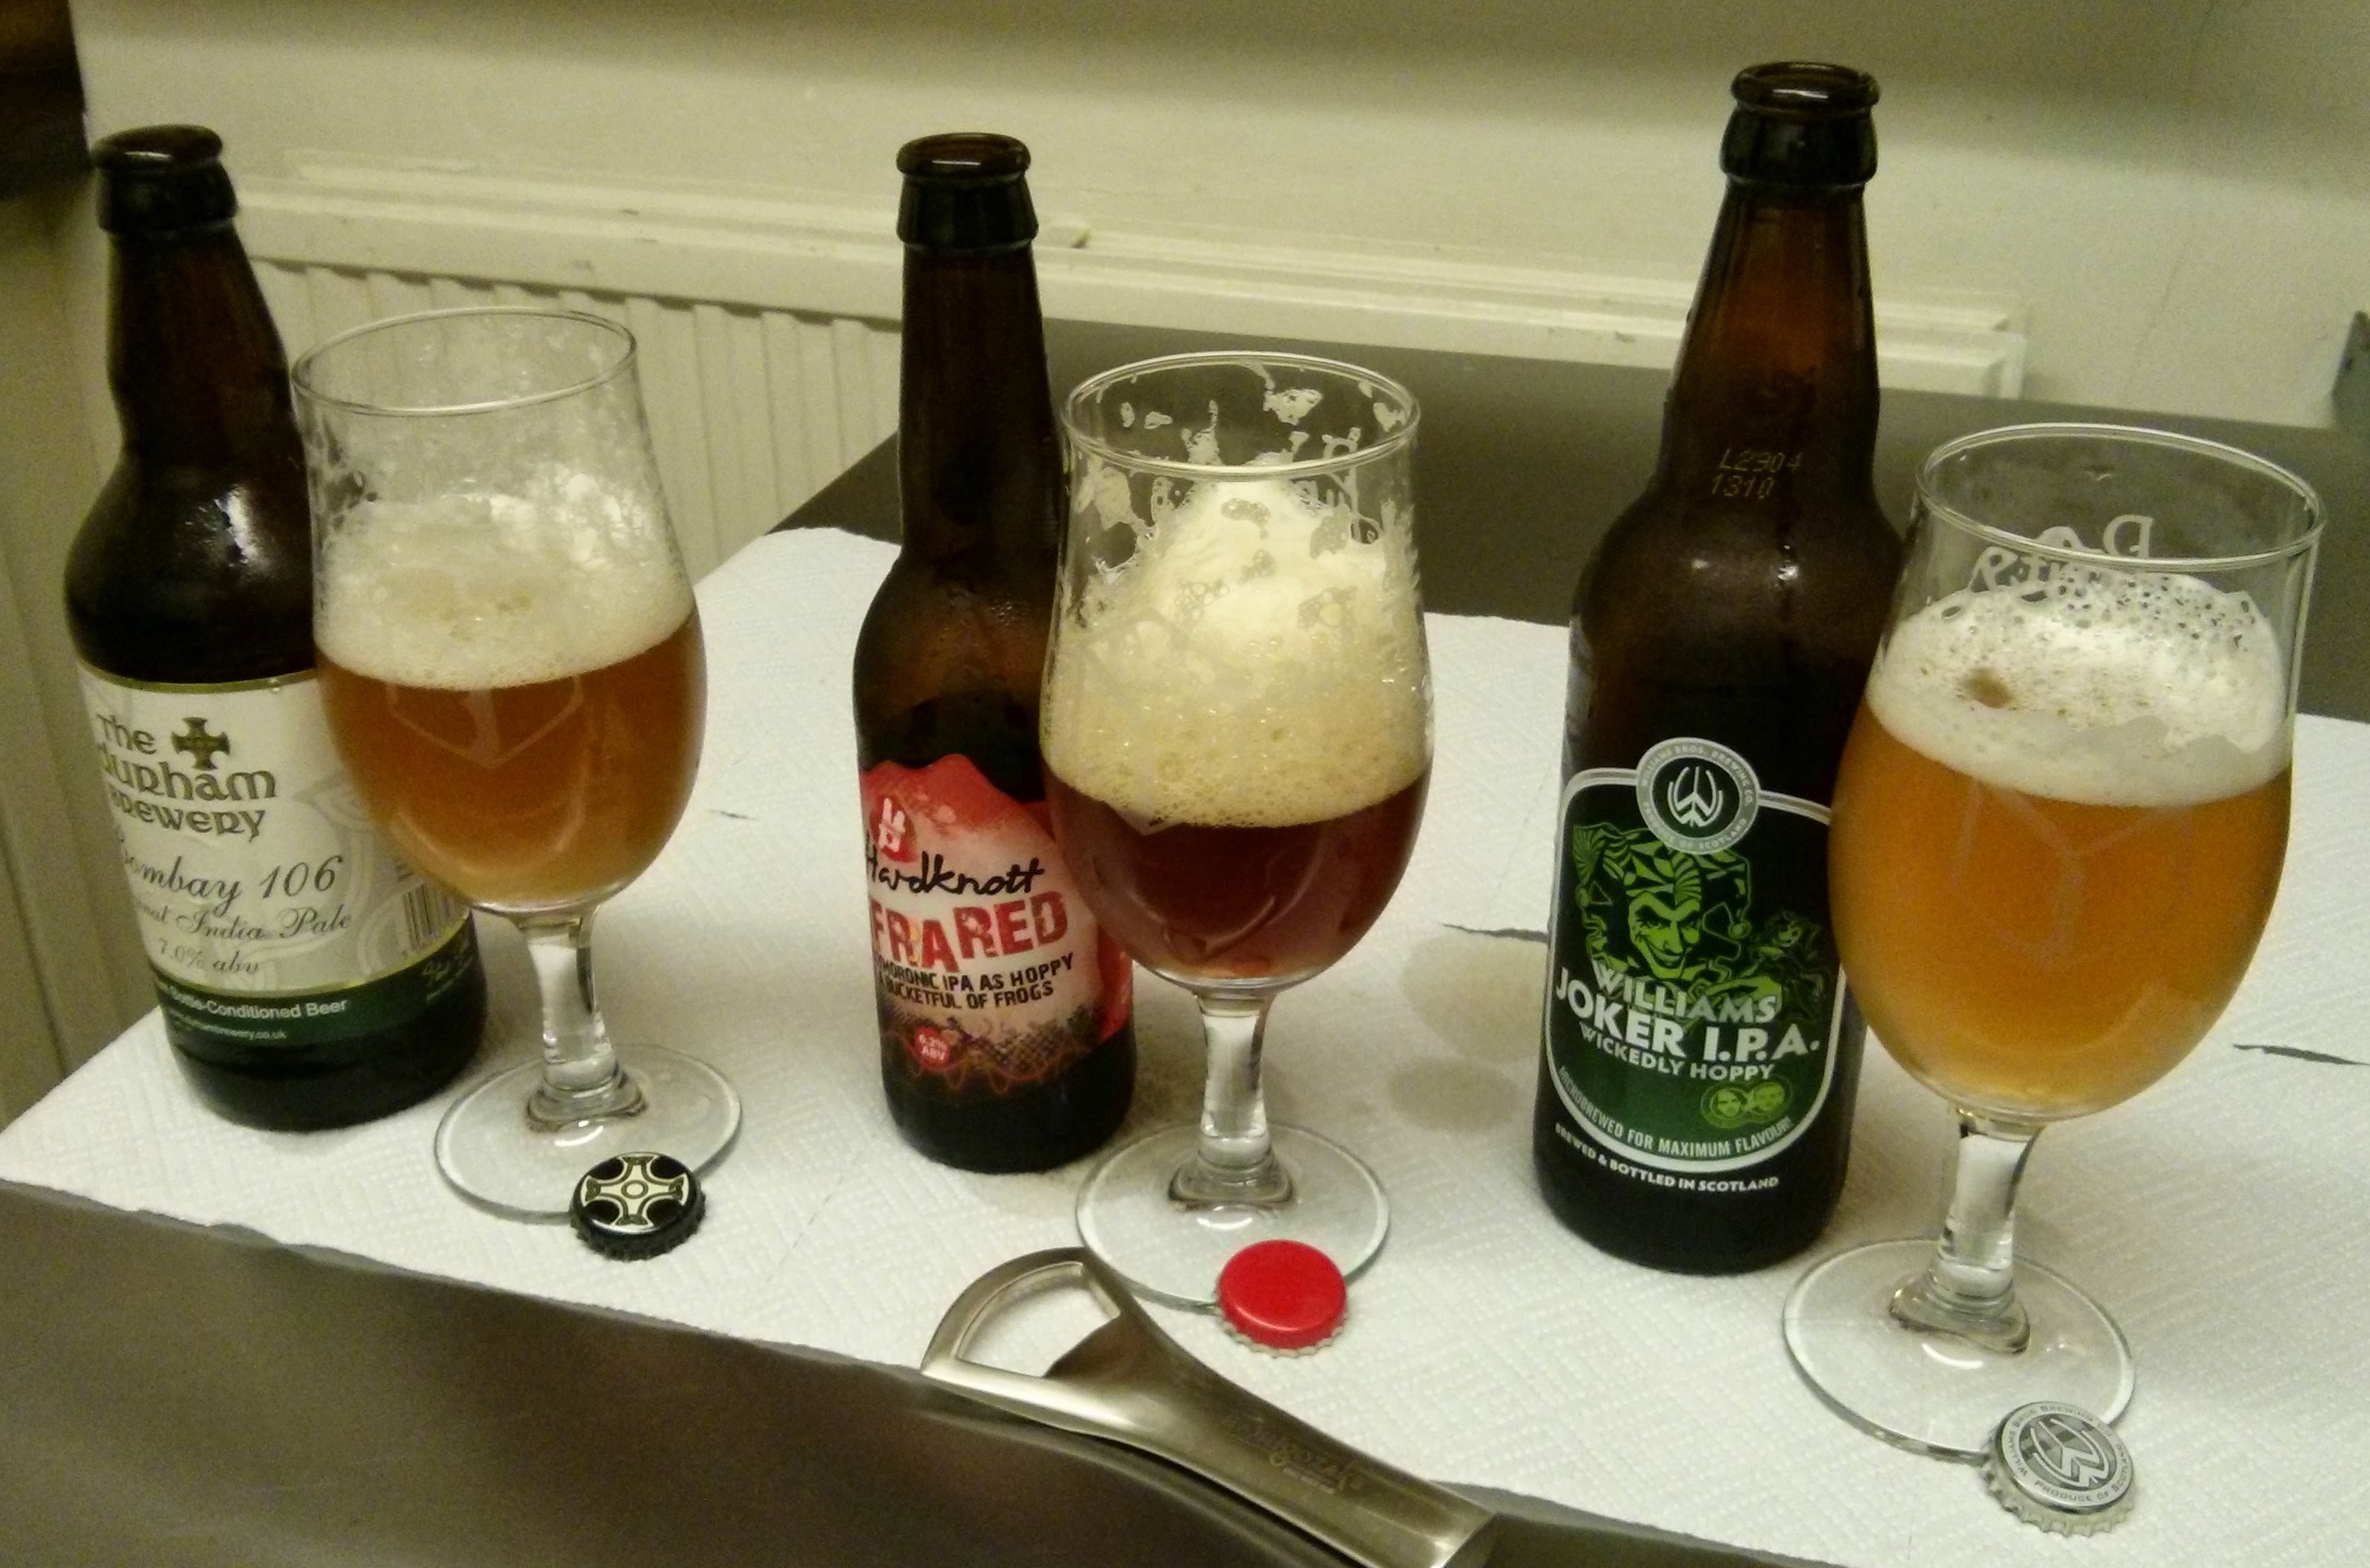
The IPA-type-critters I selected were:
- Durham Brewery “Bombay 106″ (7.0%) – styled as a “traditional IPA” this uses pale malts and a lot of British hops, it is dry-hopped with Goldings. What we get in the mouth is a big earthy IPA – full of peppery spice and resiny bitterness. Not your brash new-world hop-aroma-explosion, something far more cultured. Imagine it sitting in a big old leather chair, reading a leather clad tome, wearing a dinner jacket and smoking a pipe.
Pale Malts – British Hops – EARTHY IPA
- Hardknott “Infra Red” (6.5%) – a pretty punchy IPA-type beer, it describes itself as “oxymoronic” being a “red IPA”. Infra Red has been one of my favourite beers since I discovered it some years past. I think it may have changed a little through time, becoming just a little cleaner & lighter, less full figured – but it is certainly still a head-turner. Anyway – a rich beer with a powerful hop hit using some new-world hops.
Darker Malt Body – American Hop Punch – RICH RUBY IPA
- Williams Brothers “Joker” (5%) – this is more a what I consider a “British IPA”, it takes on the big American hops and combines them with a crisp clean pale malt base without the big sweet caramel note present in a lot of US IPAs. Yanks call it “balanced”, I call it beer that tastes like Werther’s Originals. That said, this Joker was a bit on the lighter side as far as the hops go – almost more of a hoppy golden ale than an IPA. Nimble, light on its feet, a beer that can very easily slip past you leaving the merest whiff of its presence.
Pale Malts – US-Hop Dominant – CRISP LIGHT IPA

Now unfortunately I didn’t get a really brilliant British “pale” IPA, my favourite variety – crisp, low sweetness, light malt profile, about 6%, and super-charged with hops. This was the sort of beer I had, for some reason, expected the Joker to be… so I was a little disappointed. But oh well!
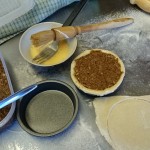
Preparation
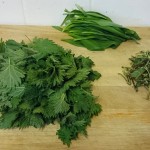
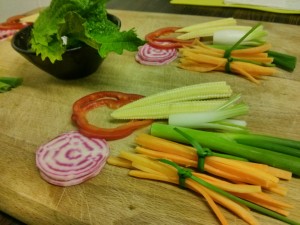 Things to tempura…
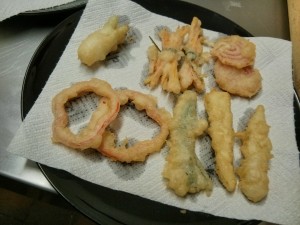
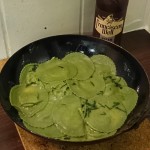
For “tempura-ing” I have “candy” beetroot (from my own garden), red pepper (capsicum), baby corn, carrots, and spring onions plus some defrosted frozen “baby squid”. To prepare:
- Slice beetroot into 2mm thick slices – best to use a mandolin.
- Slice pepper into 2mm thick rings – mandolin again.
- Halve the baby corns.
- Halve the spring onions lengthways and separate tops from bottoms.
- “Matchstick” the carrot and tie in small bundles with some garlic chives.
- Pull tentacles from squiddies, and open out and halve the bodies and give them a light cross-hatch scoring across the inner flesh.
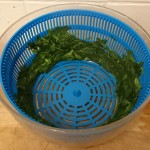
Make sure all of the above is dry, pat dry cut surfaces and rest on paper towels.
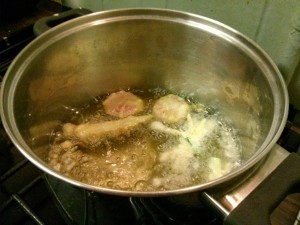
Oil…
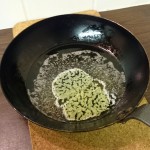
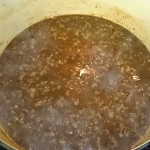
You want to get your oil on the stove before preparing the batter. Please be careful with hot oil, it is dangerous and over-heated oil can combust! Remember: Don’t drink and fry! You really want to have a suitable thermometer to monitor your oil temperature.
I’m using a litre of sunflower oil (under £2 worth), but any oil suitable for deep-frying will do the job. Use plenty and put it in a saucepan/pot that leaves plenty of space. Preferably on a burner at the back of the stove. Get the oil in the heat – your target temperature is 180°C.
If you have a deep-fryer this is all much simpler!
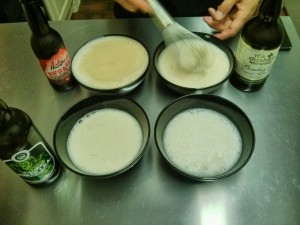 Batter…
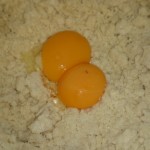
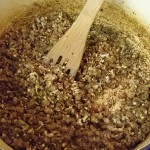
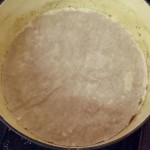
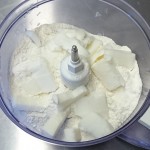
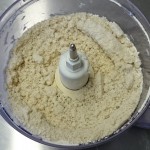
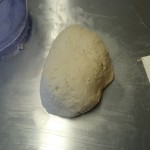
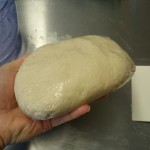
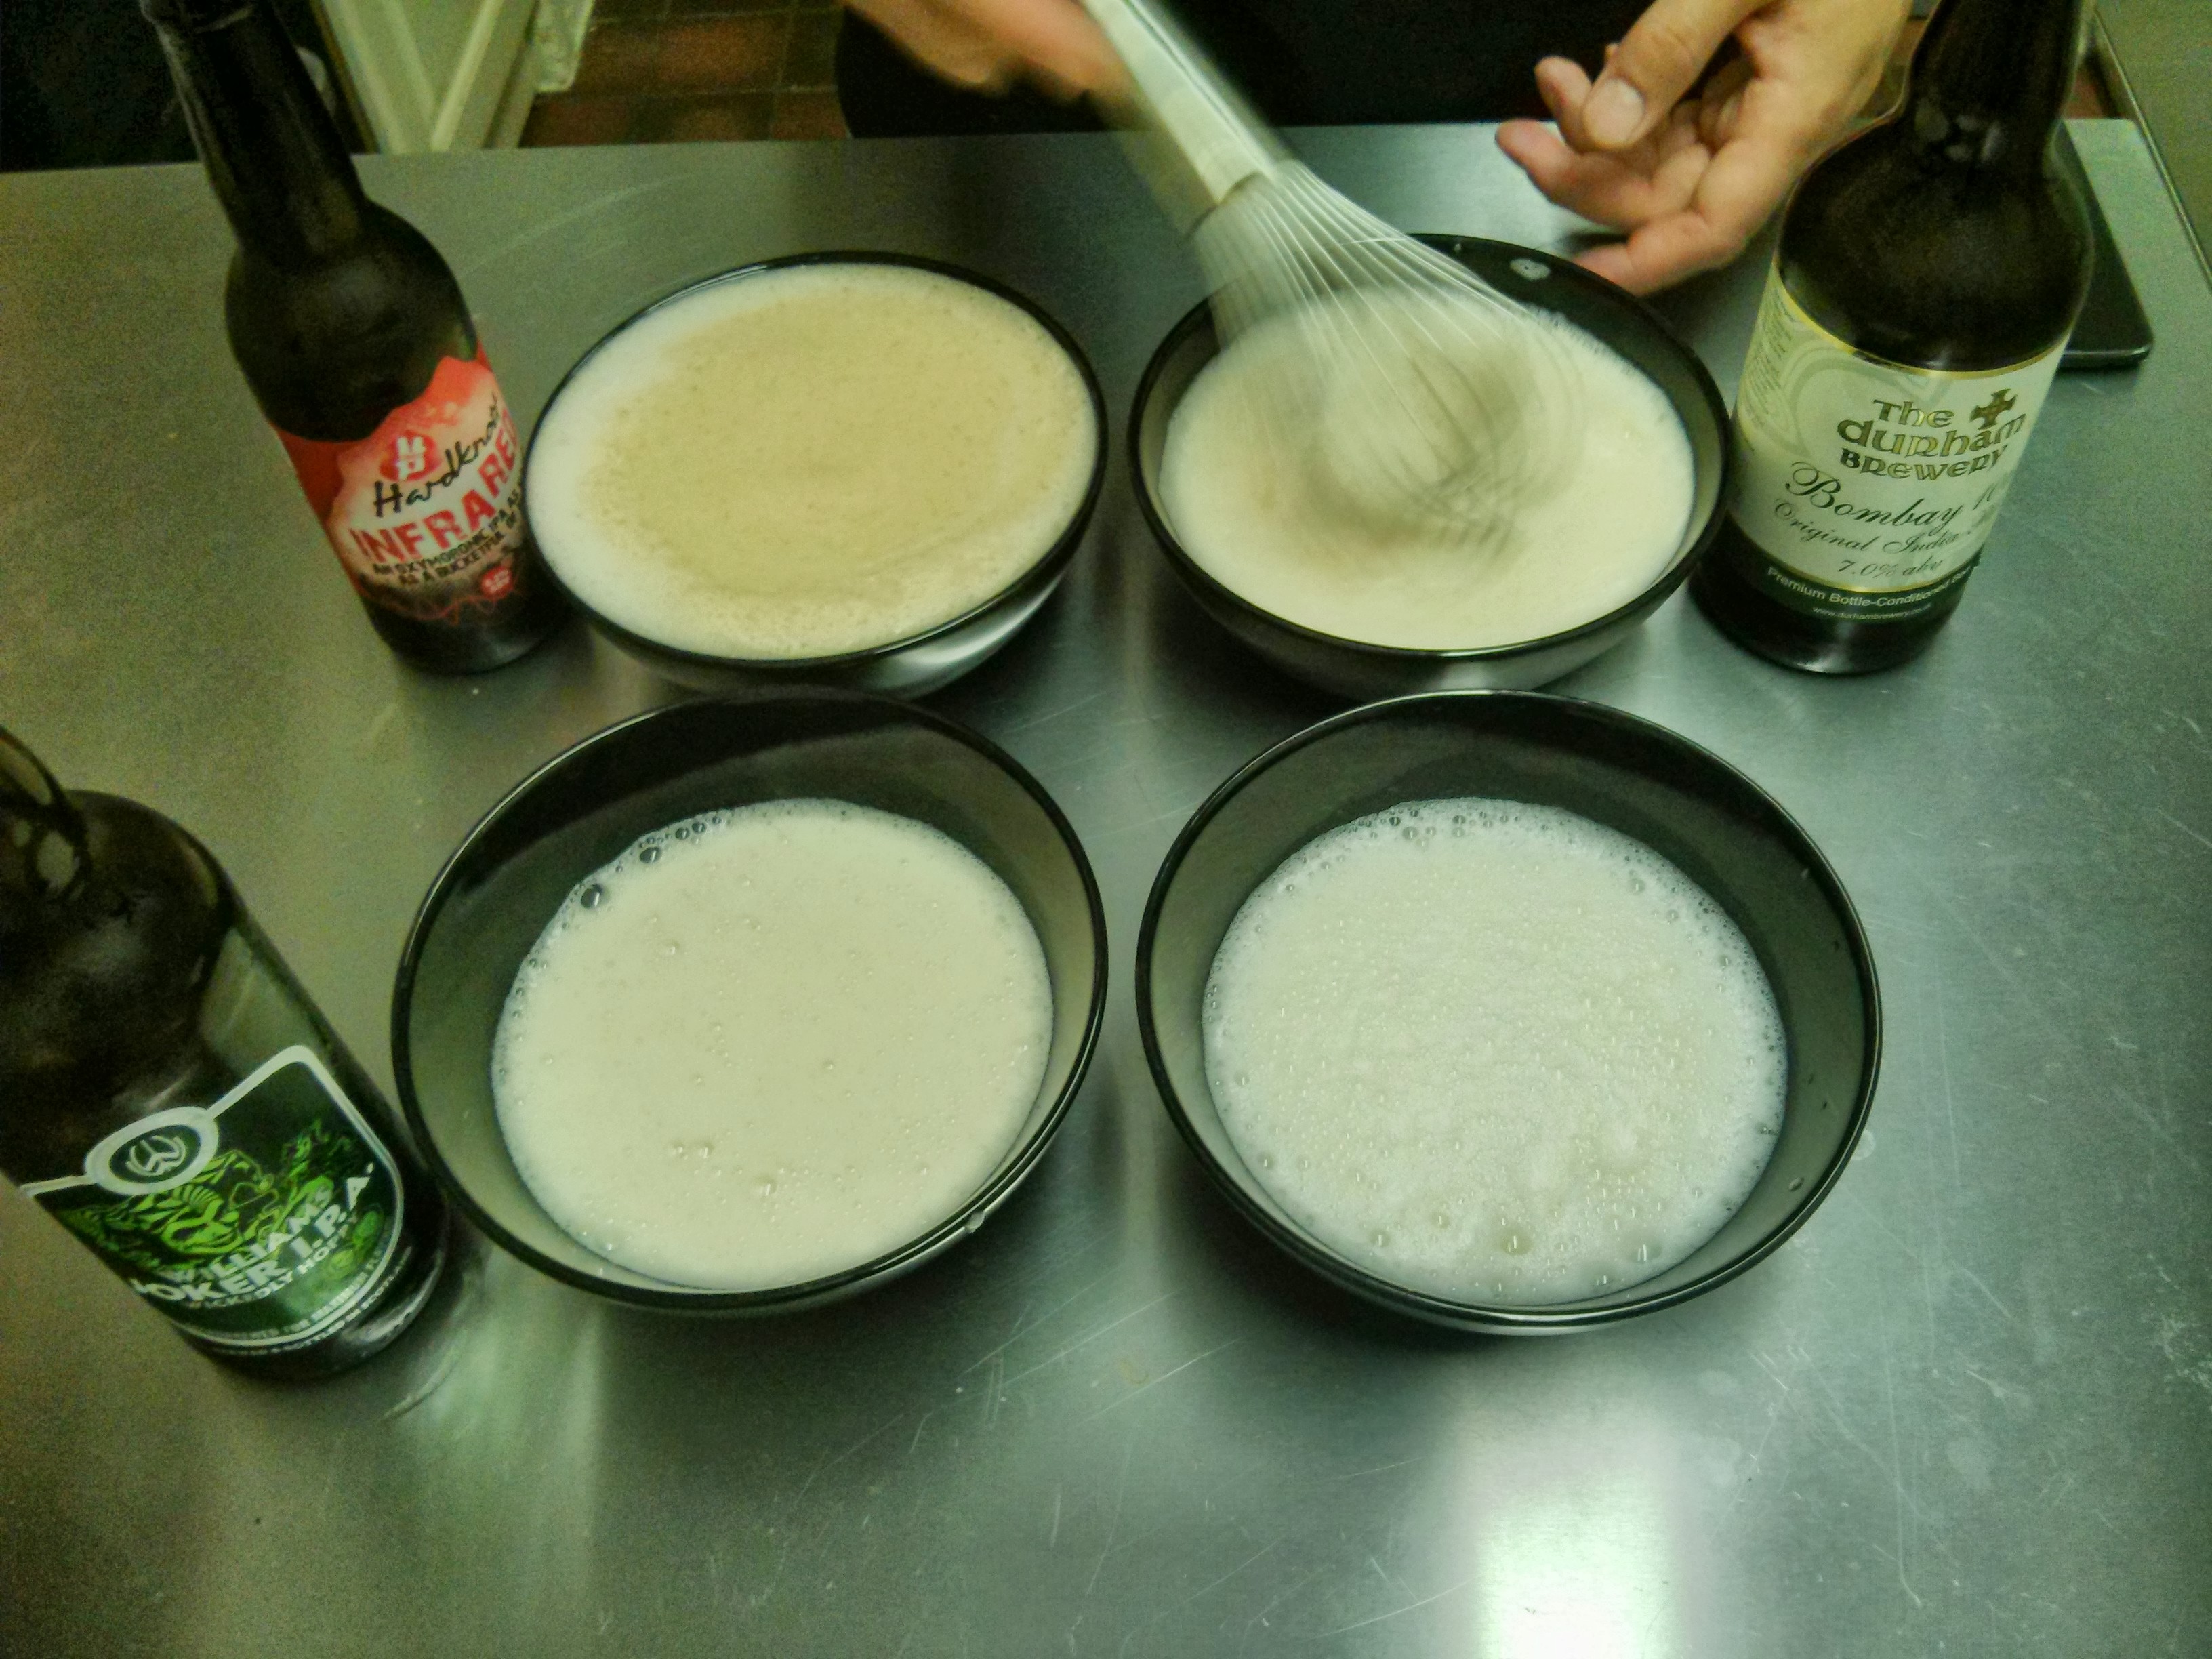
One of the well known “secrets” of tempura is cold batter. Some recipes call for icy cold water others for everything being at fridge temperature. So two hours before preparation I put a bag of ordinary plainflour in the freezer. I put my eggs and beers into the fridge (~4°C). Then 15 minutes before production I popped my beers into the freezer too. It’s going to be one FRIGID batter.
Batter ratio based on a single large egg:
- 1 large egg
- 120g plain flour
- 190ml beer/water/liquid
I have also made a “control” batter that uses ice-cold water instead of beer.
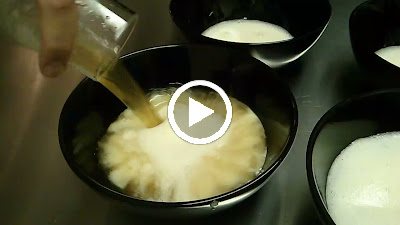
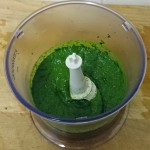
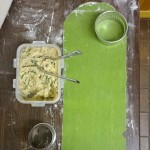
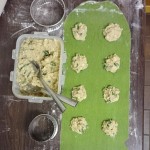
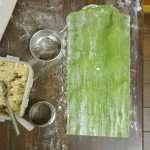
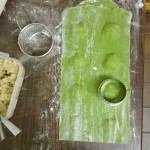
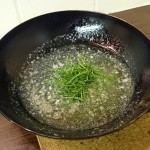
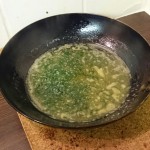
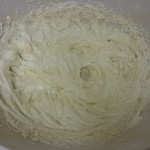
To mix the batter simply put the egg into a suitable bowl, whisk it until combined, whisk in the beer (gently, it’ll “fizz”), then mix in the flour. The flour should be very loosely mixed in – a bit lumpy is what you want. To aid this, and to seem more authentic, my mixing tool of choice is chopsticks. :)

FRY!
Your oil is at 180°C… your batter is mixed (if there is any delay pop your batter in the fridge, but aim to have no delay), your tempura-bits are prepared, it is fry o’clock!

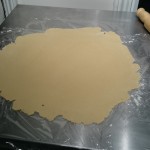
Quickly and carefully dunk an item in the batter then drop it into the hot oil. It is good to have the item a bit drippy, this adds to the tempura effect. Do a few items in quick succession – do not over-crowd. Let them fry for about a minute, then flip and give another minute before fishing out and putting on paper towel. Let the oil return to 180°C before doing the next batch.
For raw seafood that isn’t sashimi-grade you may want to fry for a little longer, experiment and work out what the “sweet spot” is. For thin small/squid like mine I think a minute extra is plenty.
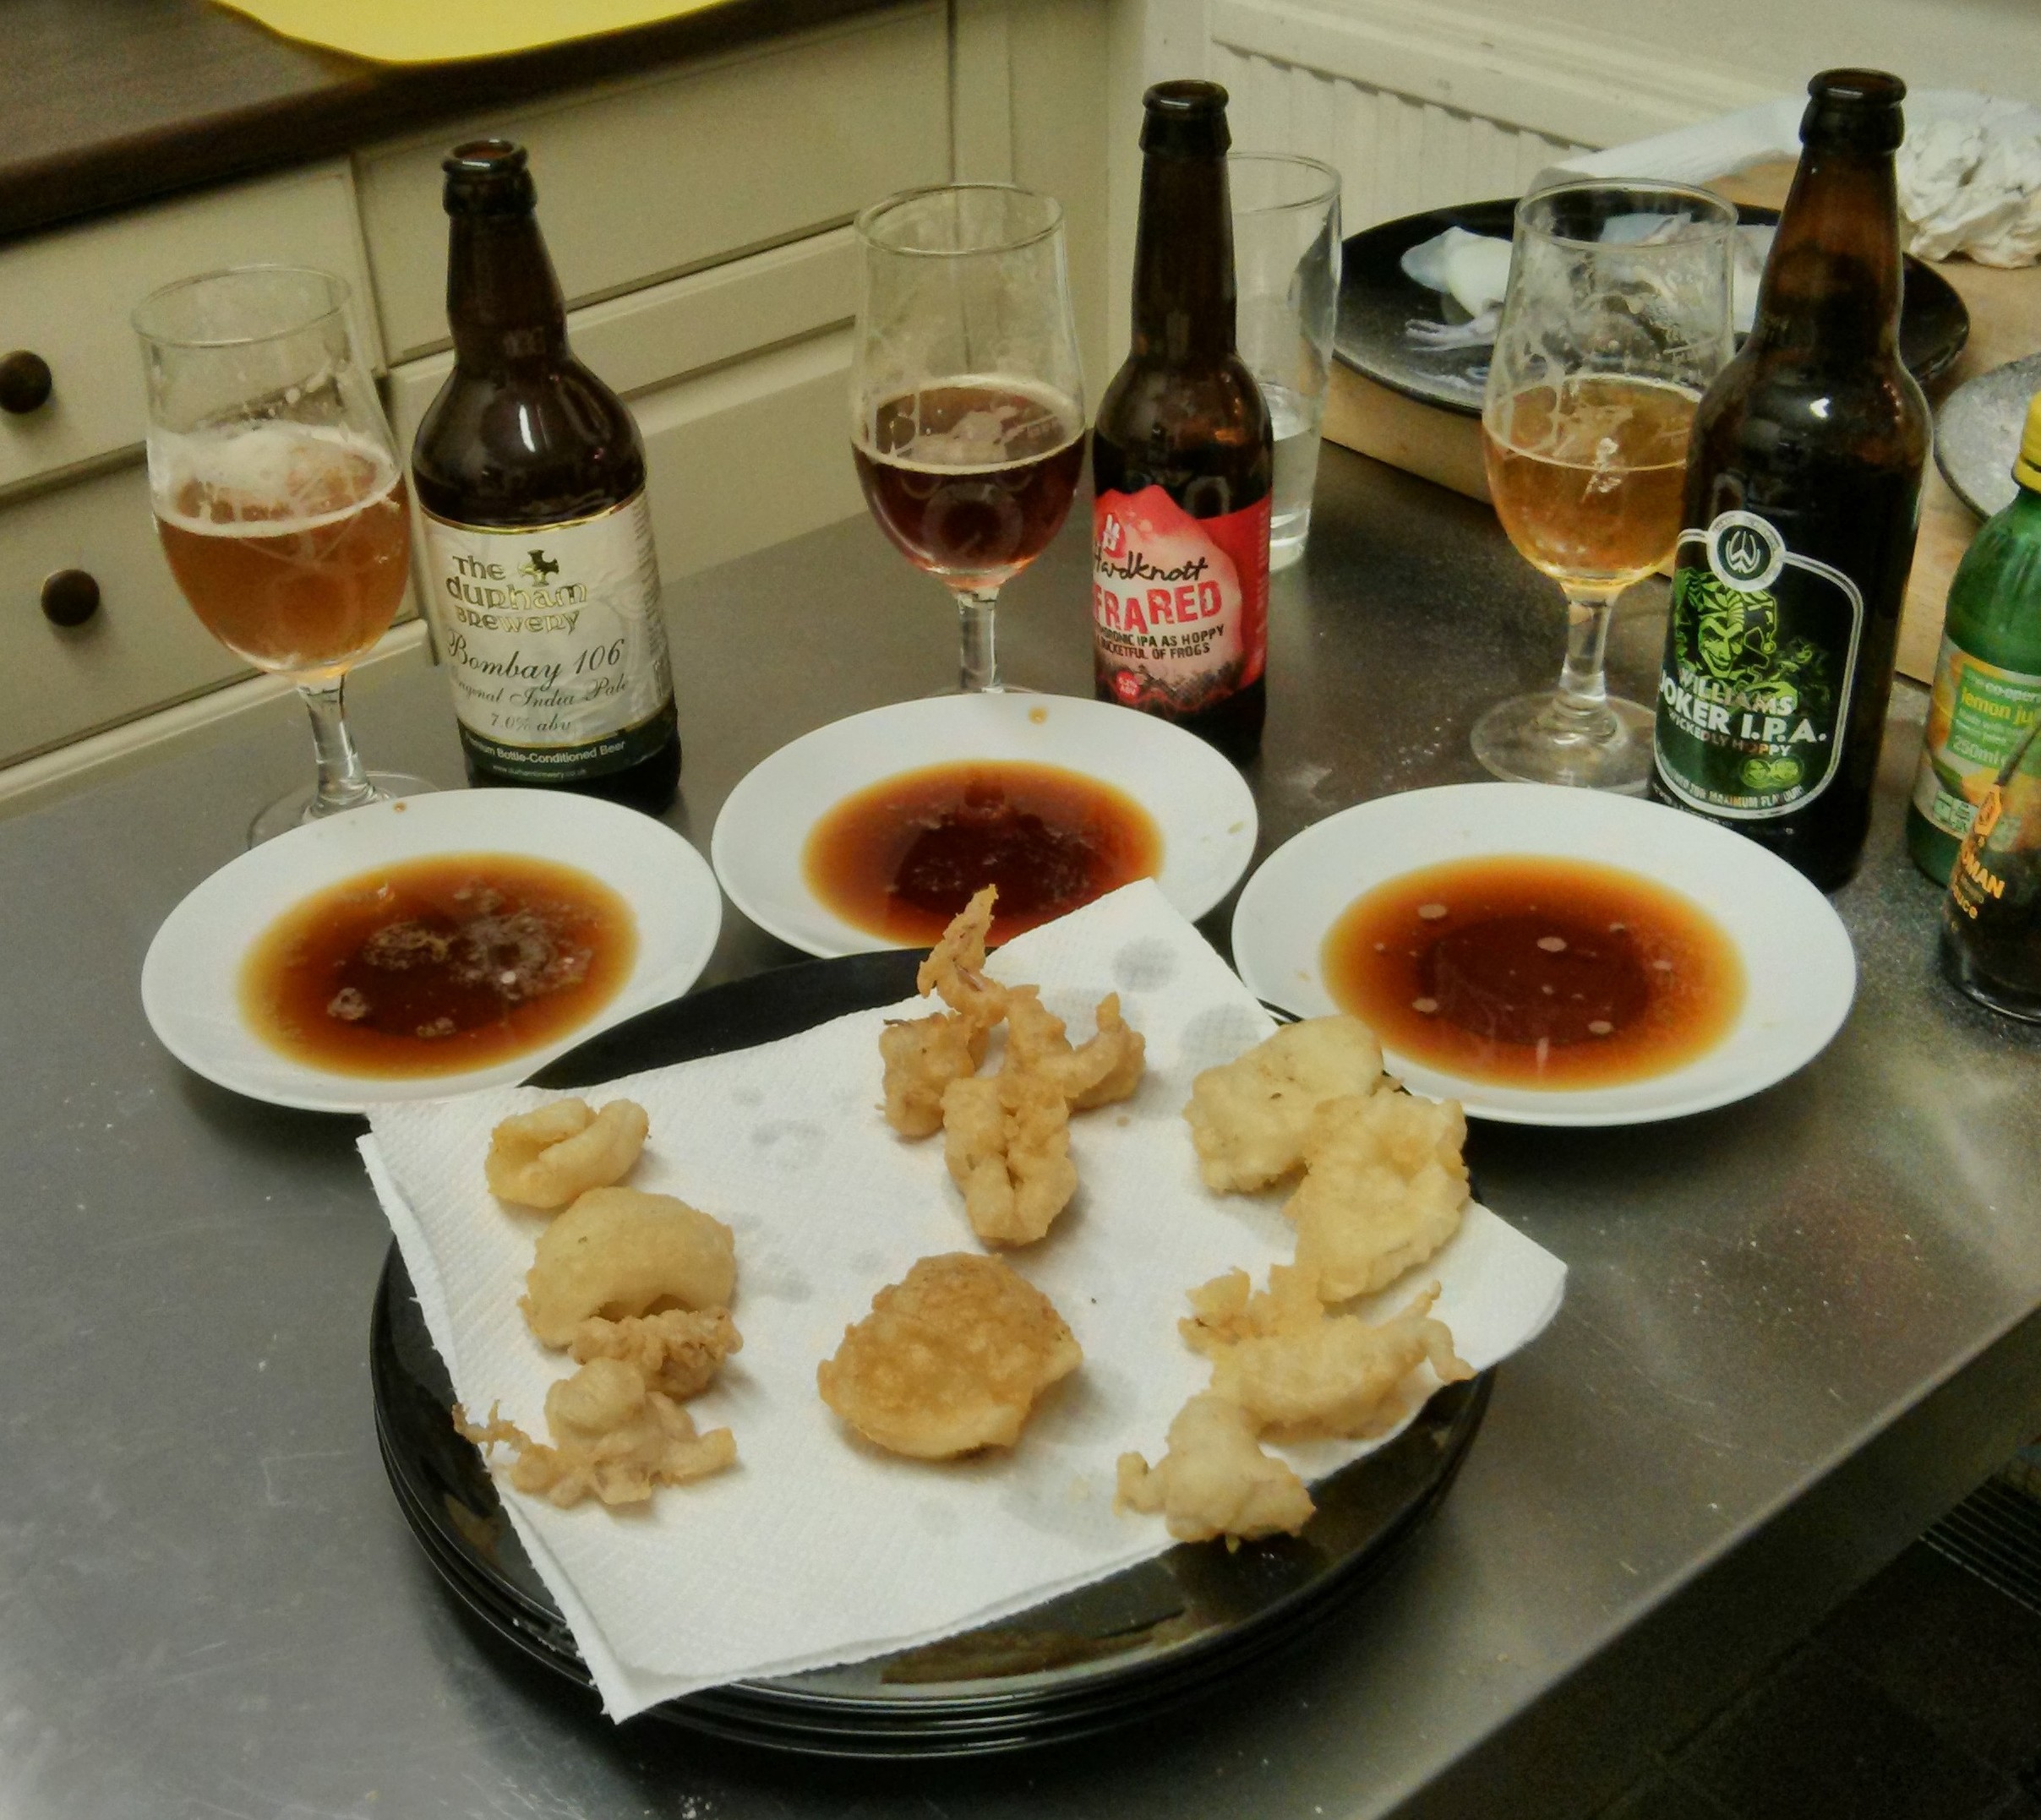
 Enjoy!
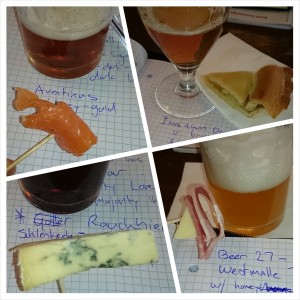
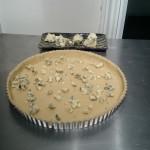
Tempura is best enjoyed right away. If cooking for others aim to be serving straight from fryer-to-table in batches. For a more social time hang out in your kitchen with some beers. (Please be sensible with the beer whilst hot oil is in action!)
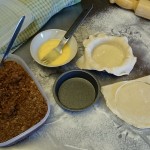
A bit of a dipping sauce is normally served with tempura – a simple one combines soy sauce umami with the zing of lemon juice or rice vinegar. Based on this I knocked up a sauce for each beer. About 4 tablespoons of the beer, 1 of soy, 1 teaspoon lemon juice (from a bottle alas), and a splash of rice vinegar “to taste”.
Analysis…
So – do we have a winner here? Not a clear one. Kat prefers the Joker based batter, and on the topic of the sauce “none of them” – if pressed she preferred the Bombay 106 as she enjoyed the decent beery hit it gave. I’m told I should have put less beer in the sauces :( Kat also says the Infra Red would probably be more suited to something of a pakora … there’s an idea for next time! :)
Each batter definitely had its own character – note no seasoning was used, no salt and no pepper – the dipping sauces provided some seasoning but my tasting of the batters didn’t use the sauces. All three beer batters gave a distinct “seasoned” edge, an umami, that the plain batter lacked. They also coloured up more than the plain batter – possibly due to sugars in the beer (the Infra Red batter was always noticeably darker – not surprising). The Joker batter simply tasted like a damn good batter, not specifically beery and with no bitterness. The Infra Red batter was the most true to its beer – mainly a malt profile thing, but also with a touch of hop bitterness & resin coming through. The Bombay 106 was the most definitively “beery” batter – it has a beery flavour, and the most distinct bitterness. By comparison to all three the plain batter was a bit… dull, really. None of the beer batters seemed to be better than the other for “tempura effect”, however the plain one was a little less “puffy” and more authentic in appearance.

As for the dipping sauces – they had very similar characteristics, but were all more noticeably beer-based. The Joker was a smooth sauce that complemented all batters. The Infra Red was my preference – it tasted unmistakably of the beer and needed to be used in moderation. Whilst the Bombay 106 tasted like serious “beery soy”, and I didn’t really like it that much.
Were I to serve a beer battered thing to someone based off this experience which would I choose? I’m not sure – I think it would be down to context. If I simply wanted a good versatile batter the Joker is ahead of the game here – because it is a pretty normal beer with enough body to beef up the batter but simple and light enough to not distract or clash. I’m not really sure why or how it is an “IPA” but it is a good beer. If I want to showcase a beer edge then it is the other two that have that edge, with the Bombay 106 being suitable for both the squid and the vegetables. The Infra Red batter was specifically Infra Red flavoured and was a good complement to the vegetables, but was too much for the squid. If I was trying to highlight specific beer flavours matched against the beer in question it’d be the full Infra Red set I’d pick (batter, sauce, and beer).
As for pairing with tempura-everything? Again the Joker wins here. It isn’t anything crazy or different on the beer-front, but it has a good body and flavour to match the battered goodies – complementing without overwhelming.
There’s no clear winner here – but that was never the point! The point is beer batter isn’t just beer batter – the beer you choose is important. I’d be interested to know what successes, and perhaps failures, others have had with beer batters.
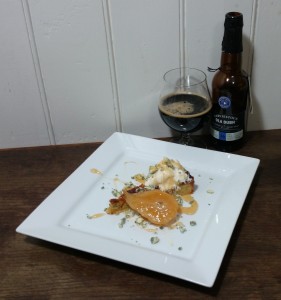
Right now I’m wondering how a stout would go in a batter for sweeter vegetables. Or perhaps for deep-fried black pudding… or haggis? *SQUELCH* *POP* *BOINGBOINGBOING*[1]
[1] …the sound of my heart tearing free of my chest, popping out my mouth, and bouncing off into the distance whilst making sad whimpering sounds.
Z5ZV4A3YYCTF
Like this:
Like Loading...
 For my own part I was a “foodie” (a term I particularly dislike) for a looooong time before becoming a beer geek. I’ve probably been a “beer geek” for less than five years. In contrast, well over a decade ago in 80s/90s Australia I grew up in a restaurant surrounded by gourmet variety, my father a trained chef of the traditional school and my mother with a modern creative flair for food – all bases covered. In this sense I don’t regard my views on beer+food as coming out of some odd beer-vs-wine-inferiority-complex… they come out of being a food lover who discovered the flexibility and power of beer in the food context who wishes to spread the joy of the discovery.


